If you’re familiar with Gravity Forms, you might have noticed that it doesn’t allow you to export your form data directly to Excel in a native Excel file format. You have to export it as a CSV file and import it manually, which can be a bit of a headache.
Fortunately, there is an easier way. In this blog post, we’re going to show you how to export all of your Gravity Forms submissions directly into an Excel spreadsheet automatically using the Entry Automation plugin.
We’ll walk through a step-by-step tutorial on exactly how to do it and discuss the benefits of exporting your forms data to a spreadsheet. Let’s get started!
What is Gravity Forms?
For those unfamiliar, Gravity Forms is a popular, powerful, premium WordPress form builder plugin. It allows you to create beautifully designed, flexible forms to collect information from your website users using an intuitive drag-and-drop editor.
Gravity Forms comes with some powerful features, including insertable pricing fields with PayPal and Stripe integration, as well as conditional logic, which allows you to show specific form fields on the front end to different users based on certain conditions being met.
However, if you want to save your form submissions, your options are more limited. You can only download export files manually as a CSV file.
The problem is that CSV files don’t always open cleanly in Excel, and exporting the Gravity Forms entries manually every time isn’t exactly convenient.
That’s where Entry Automation comes in.
Connecting Excel to Gravity Forms – Introducing Entry Automation
The easiest way to export your Gravity Forms data into Excel is with Entry Automation. Entry Automation is a Gravity Forms Add-On that extends its functionality. It simplifies everyday maintenance tasks like exporting and Gravity Forms entries through automatic scheduling.
It can save you a ton of time each month by automating your most common Gravity Form tasks using conditional logic and custom sorting. Rather than manually exporting your data every time, you can install Entry Automation and schedule data to be automatically exported and emailed to you at regular intervals.
And the best part? Entry Automation now supports native Excel XLSX file formats (as well as CSV, JSON, and PDF), so you can easily generate Excel reports of your form submissions that open cleanly in your spreadsheet software!
How to Use the Export Functionality in Entry Automation, Step-By-Step
Here’s how to use Entry Automation to automatically export your Gravity Forms entries to Excel.
Step 1: Install the Entry Automation Add-on
Assuming you already have the Gravity Forms WordPress plugin, the first step is to install the Entry Automation Add-On.
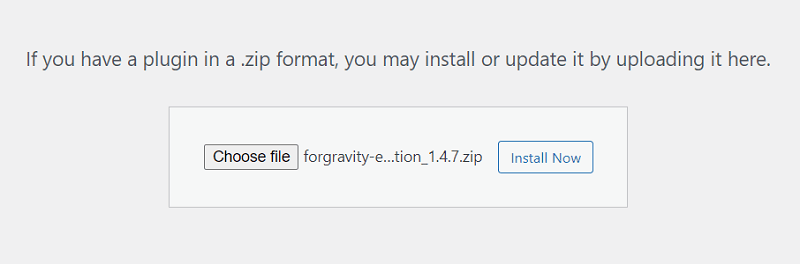
Once you’ve downloaded the plugin, navigate to the Install Plugin page from your WordPress dashboard. Next, click on Add New, then Upload Plugin. Select the Entry Automation zip file and install and activate.
Step 2: Configure an Export Task
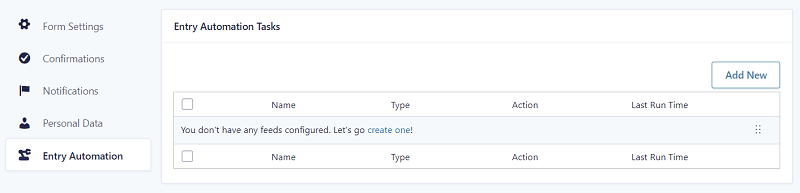
Once you’ve installed Entry Automation, edit any form you have previously set up, or create a new one. You’ll notice a new Entry Automation tab in the Form Settings page. Head to this tab and click Add New to set up a new Entry Automation task.
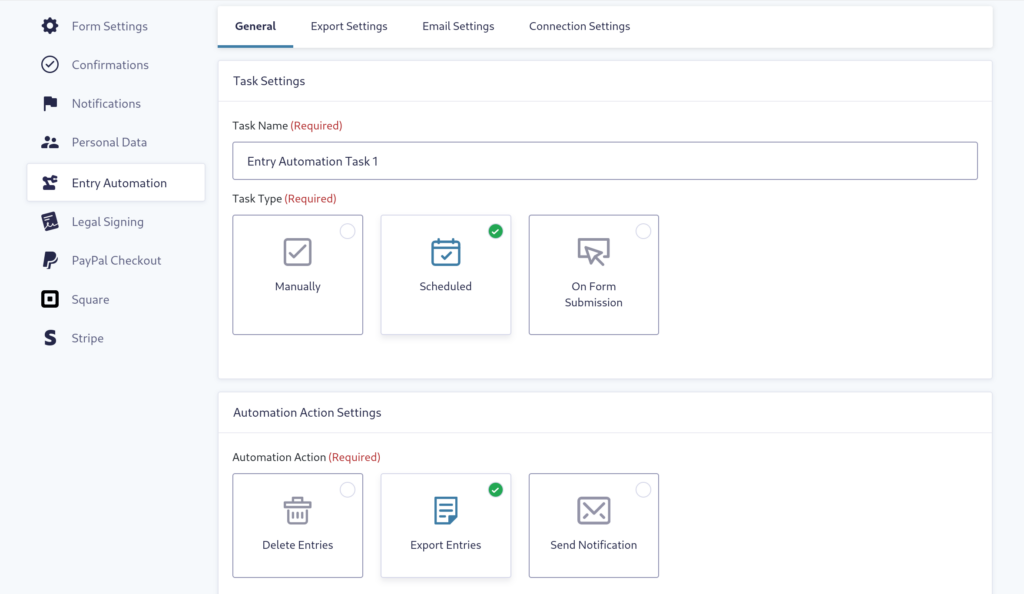
On the next window, you can add a task name to tell you what the new task will do. You can also choose a task type: manually, scheduled, or on form submission. If you want to automatically schedule the Gravity Forms export to Excel at set intervals, click on Scheduled. Next, click Export Entries.
Step 3: Set the Scheduling Options
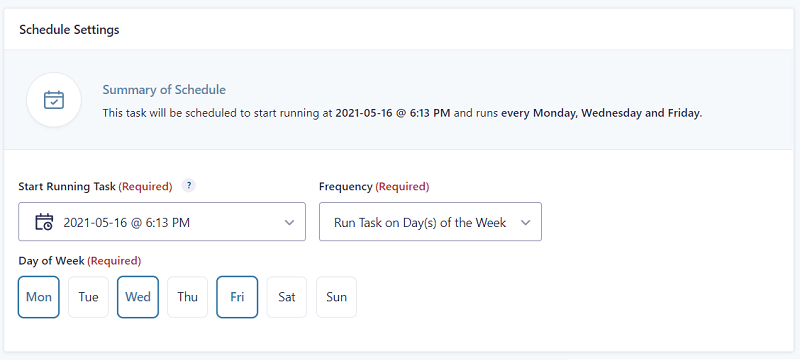
To do so, start by selecting the date range for the submissions/form entries you want to target. You have three options to choose from: all form entries, all entries submitted since the last task run (i.e., all new entries), and custom date range.
If you select Custom Date Range, you can then input the two dates you want to process entries between in plain language. For example, if you just want to export entries from the last week, you’d input 1 week ago into the From section, and Right Now into the To section.
You can choose to apply the Date Range to when entries were created or updated, as well as to the values of Date fields on your forms. You can also select the entry status of the entries you want to target.
Again, the live updating summary will give you a straightforward explanation of what your current configuration will result in.
Step 4: Configure the Entry Targeting Settings
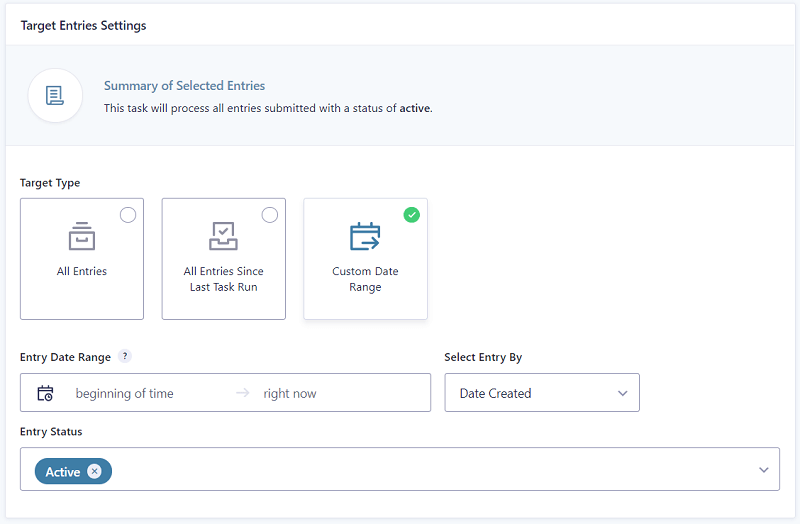
You’ll also need to configure the settings for which form entries you want to export each time.
To do so, start by selecting the date range for the submissions/form entries you want to target. You have three options to choose from: all form entries, all entries submitted since the last task run (i.e., all new entries), and custom date range.
If you select Custom Date Range, you can then input the two dates you want to process entries between in plain language. For example, if you just want to export entries from the last week, you’d input 1 week ago into the From section, and Right Now into the To section.
You can choose to apply the Date Range to when entries were created or updated, as well as to the values of Date fields on your forms. You can also select the entry status of the entries you want to target.
Again, the live updating summary will give you a straightforward explanation of what your current configuration will result in.
Step 5: Set Up Your Export File
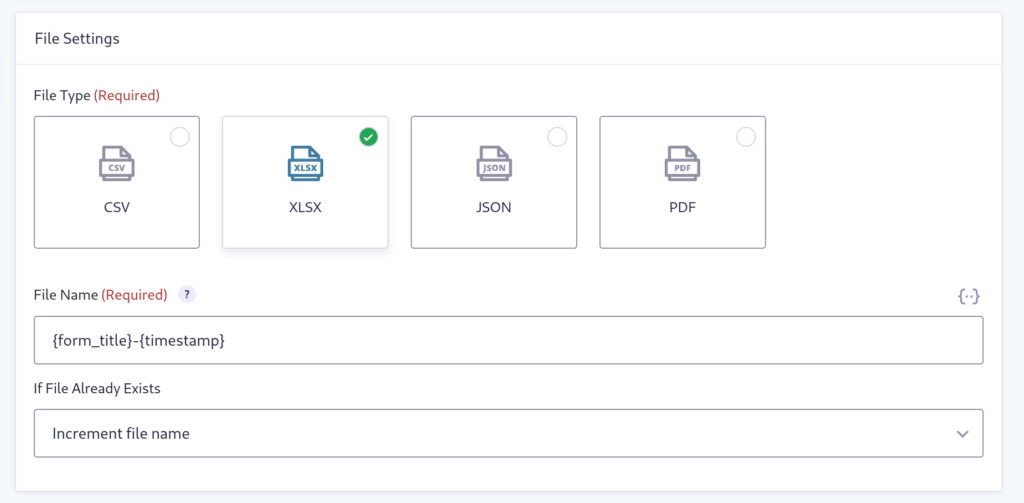
You’ll also need to select which form fields (e.g., email, name, entry ID, etc.) you want to be included in the export file. Additionally, you have the option of including any files generated with the form submission along with the Excel export file.
If you’d like to save server space, enable the Delete export file toggle under Post Export Settings.
The export file will automatically be saved to your site’s uploads directory. If you prefer, you can also choose to have it automatically emailed to you or multiple recipients by configuring your email preferences under the Email Settings tab.
Once you’re done configuring all the entries, just hit Save Settings, and you’re done! Your Gravity Forms entries will now be automatically exported as a file that you can open up in Excel at set intervals.
Final thoughts
As you can see, Entry Automation is a really powerful Add-On for Gravity Forms. It makes it easy to process form entries, including to Excel! Not only that, but it can also help save you time and money by enabling you to build powerful workflows and automate repetitive tasks. Plus, you can automatically generate PDFs for your customers when they fill out your Gravity Forms, upload them to your preferred provider, and more.
If you’re interested in trying it out, check out our pricing page to find out more about the different plans available.


