
As a busy property manager, you’re likely generating scores of documents every month. There are new lease agreements, renewals, parking permits, and pet policies. Every document has to be signed, which used to mean tons of paperwork and chasing after signatures.
These days, those signatures can be collected digitally. While you can probably find online services to handle that for you, you may not know that you can do it all yourself — right on your WordPress website. Not only can you set up notifications for all parties, but the signatures are also 100% legally binding. Even better, you can use the documents you already have.
Legal Signing for Gravity Forms allows you to take any fillable PDF form you have and turn it into a signed, legally binding document using data sourced from the Gravity Forms form on your website. You can start collecting digital signatures in WordPress today.
In this article, we’ll walk you through how to create Lease Agreements and collect legally-binding signatures on your WordPress site.
How It Works
To start, you’ll of course need to run your website on WordPress and have Gravity Forms installed. Then, grab Legal Signing from our site.
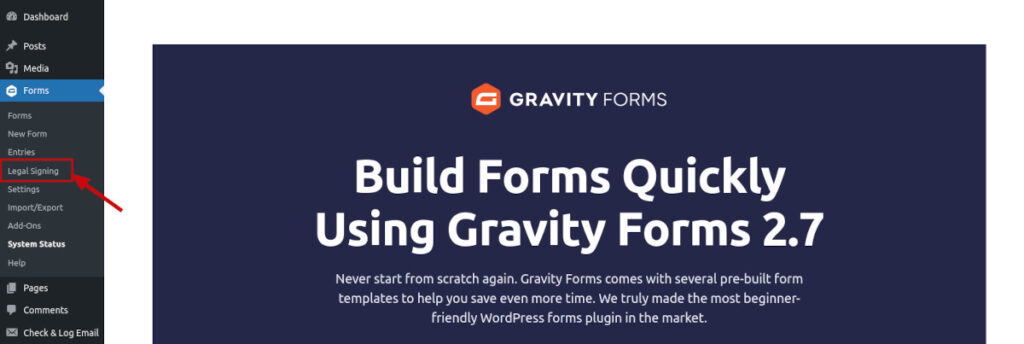
After you have Legal Signing activated on your site, you’ll see a new item under your Gravity Forms menu called, “Legal Signing.”
Preparing Your Lease Agreement
Before you can create a lease agreement form — or any other kind of form for your tenants — you need to have a PDF form with fillable fields. It doesn’t matter what software you use to create your PDF form, but it must include all the fillable form fields you want to be completed and signed. If you’ve never done this before, don’t worry. We have a tutorial on how you can easily create one.
When you create your form, it’s a good idea to label each field on your forms with descriptive names, like Tenant Signature, Tenant Date, and so forth. This will come in super handy when you map your form fields in a later step.
Create a Form in WordPress
With your PDF form ready, it‘s time to switch to your WordPress dashboard and create a form using Gravity Forms. You need to add fields that match the fillable fields on your PDF, including all signature fields.
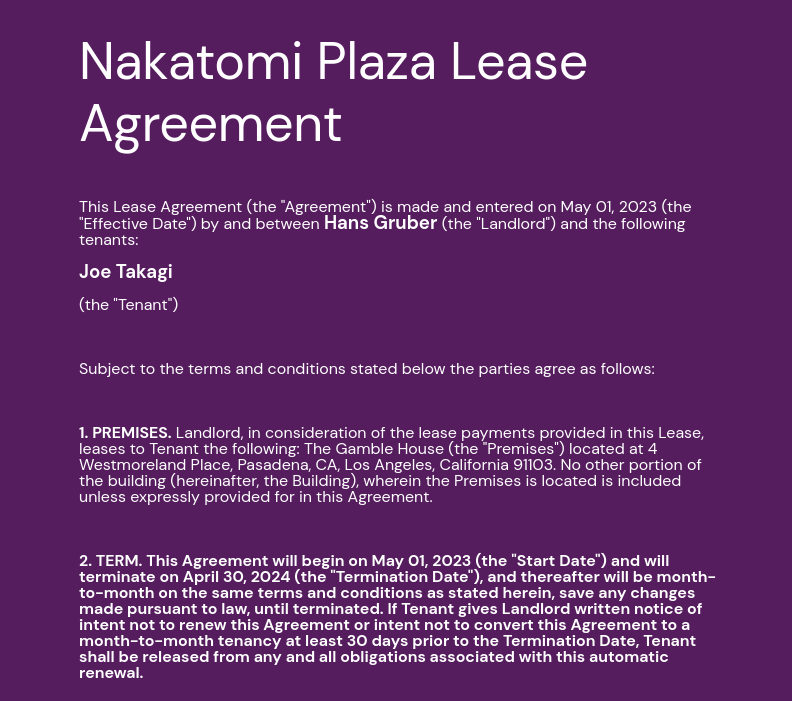
If you want to display the content of your contract, you can use an HTML block and fill in the field with the contents of your document.
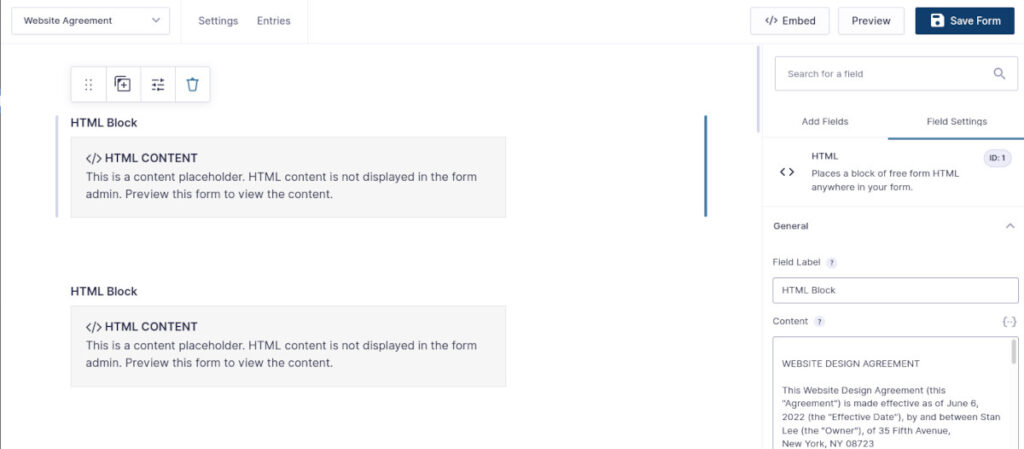
You might notice that if you copy and paste the text of your document into the field, it won’t be formatted as neatly as it is in your word-processing app. If you want it to match, you need to convert it to HTML. Luckily, most document creation software will allow you to export as HTML. There are also free services online that will take your document and translate it into HTML for you. Then, open the HTML file in a plain-text editor, copy the code, and paste it into the HTML block field in your form. Voilà! A neatly-formatted document.
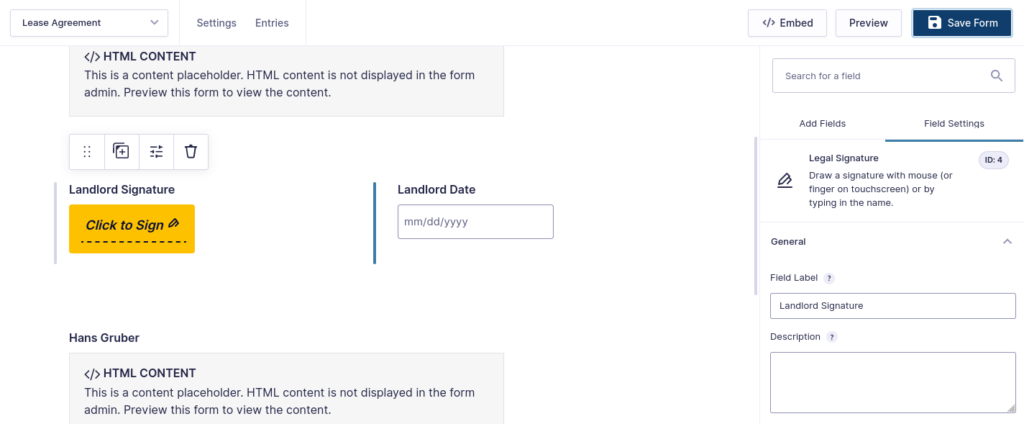
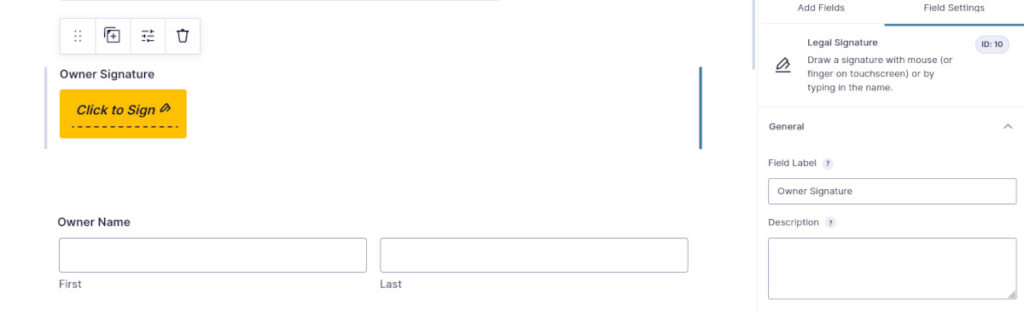
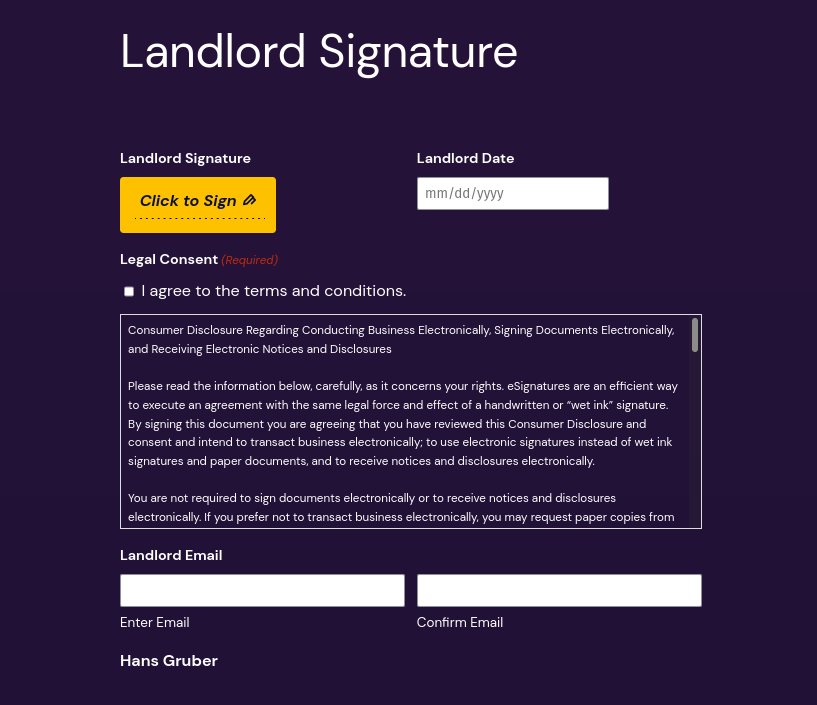
You also need to add the appropriate signature fields. Legal Signing makes this easy by providing a Legal Signature field. This looks similar to the usual e-signature field you see in services like DocuSign.
Once you save your form, it’s time to create a template that integrates your PDF.
Add a Template for Your Form
In your WordPress dashboard under the Forms menu, click on Legal Signing and navigate to the Templates section. Click Add New, and in the next section give your template a name.
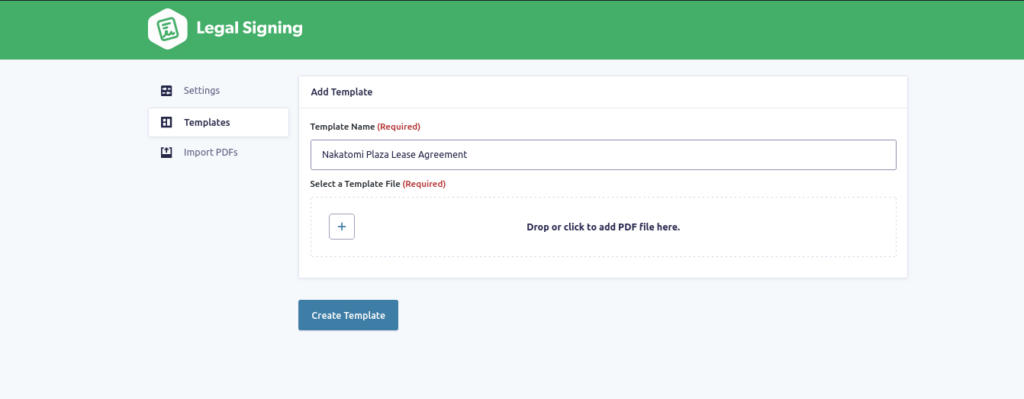
This is also where you’ll upload your PDF. Click the button or drag your PDF into the window. Click Create Template.
Create a Legal Signing Feed
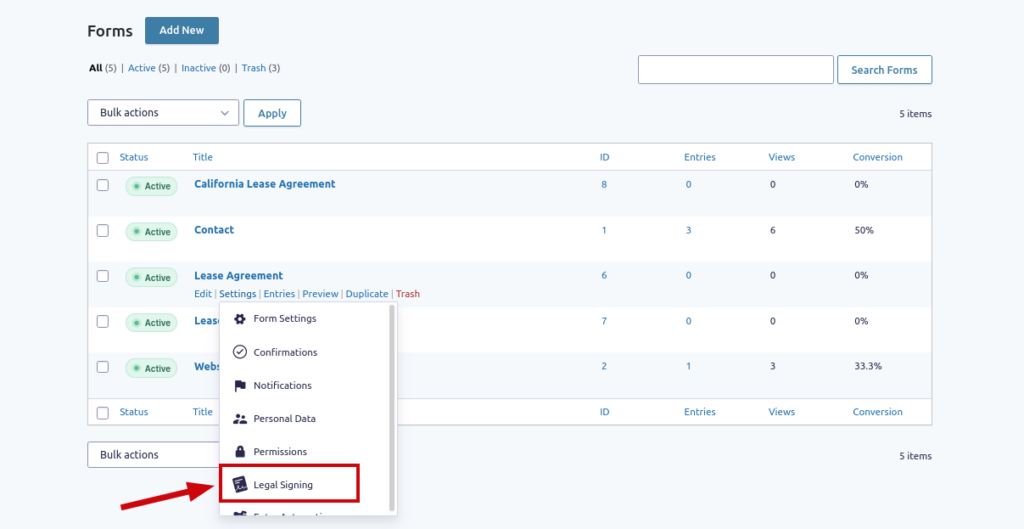
Now, head back to Forms and find your form in the list. Hover over Settings and select Legal Signing.
Click Add New.
Fill in the Feed Name and Output File Name fields based on your document, or use any names that will be helpful to you later.
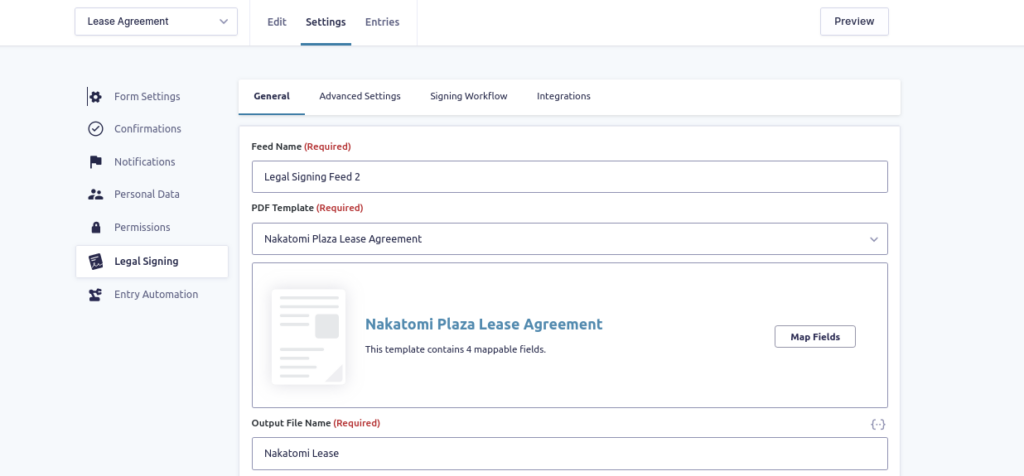
Choose the PDF template you created in the last step from the dropdown.
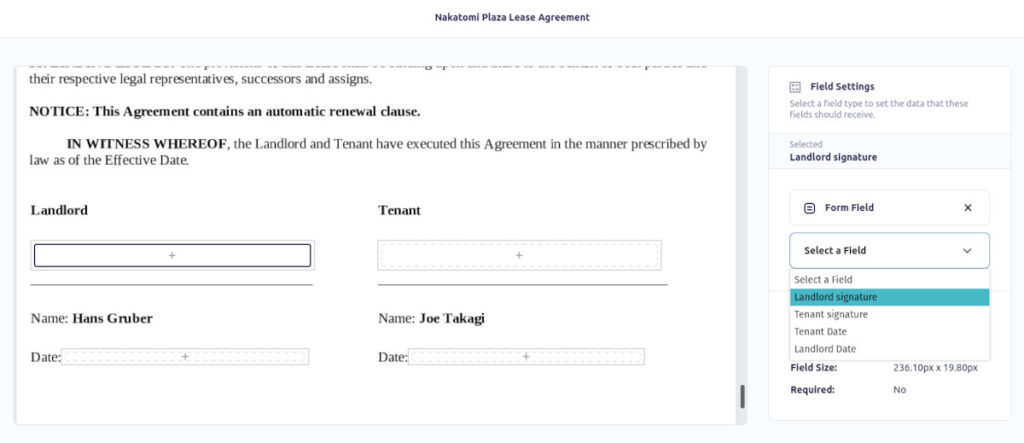
In this section, you’ll also map your form’s fields to the PDF template. Click Map Fields. In the PDF, select a field — a signature, for example. On the right, under Field Settings, you need to select the corresponding Field Type from the dropdown and then select the matching form field. You can also flatten the field to prevent tenants from changing the data in the generated PDF.
Advanced Settings
Under the Advanced Settings tab, you can create Owner and User passwords for your form if you like. If you want to set specific permissions for printing, annotating, and more, simply select your choices from the dropdown. You can also designate whether the generated lease agreement is available publicly for anyone with the final PDF link or only for those who should have access (e.g. the tenant, site administrators)..
The Signing Workflow
Signing Workflow is just what it sounds like — you can arrange the order of signers on your document. If you just want them to be in random order you can choose that, too.
This feature requires you to choose email fields for each participant and assign fields to each. If you haven’t added any email fields to your form, the menu will prompt you to edit your form fields, where you can add them. While you’re back in the form, you can take a moment to select Enable Email Confirmation in the email field’s settings. You also need to add a Legal Consent field to your form, if you haven’t already.
Once that’s done and saved, head back to Legal Signing Feed settings and the Signing Workflow tab. Click Enable Signing Workflow.
You can choose whether you want to hide form fields from other signers if you like. Enabling Audit Trail Certificate will show the timeline of all signing and viewing activity for all signers.
You have full control over the signing schedule. You can choose a relative date when signers are required to complete their portion, or you can set it up to be more specific.
Signing the Document
Now all you have to do is display the form on a page using the Gravity Forms block and send the link to your participants.
An email notification will automatically be sent, alerting the next signer in the process — if you set that up in Signing Workflow. After all the parties have signed, you’ll receive a PDF that includes the signed document and the audit trail, if you’ve chosen that option.
That’s all it takes to create a legally-binding, signed document using Legal Signing for Gravity Forms. If you get stuck, you can see our extensive documentation, and of course, you can always reach out to Support.
How Does Legal Signing Compare to Other Services?
No doubt you’ve heard of DocuSign, and maybe you’ve heard of Formstack. But how do those services compare with Legal Signing for Gravity Forms? We’re glad you asked!
The first advantage of using Legal Signing is that you and your tenants can do everything through your WordPress site. There’s no need to send them anywhere else. Plus, you can customize and brand your contract pages to match the rest of your website.
Another significant advantage to Legal Signing is that — just like with using self-hosted WordPress — you own your data. With services hosted elsewhere, the security and reliability of your data is dependent upon a third party. As a property manager, you’ll quickly start to build a large cache of documents and it’s important to know that your data belongs to you.
Let’s also talk about the cost.
With a service like DocuSign, each document you send out for signing is what they call an “envelope.” Each envelope counts separately, whether it’s the same document to be signed or a different one. Their lowest subscription plan is $10 per month, limited to five envelopes in that month. If you need more, you’ll have to upgrade to a higher tier, which starts at $25 per month.
Legal Signing (and Fillable PDFs) have a different approach. As we covered earlier, you upload the different types of documents you need to be signed as templates. Each plan is limited to a certain amount of templates, but you can send out an unlimited number of those to be signed every month. That means that you can have templates for:
- Lease Agreement
- Parking Permit
- Pet Policy
- No Smoking Policy
- Noise Policy
Once those templates are created, you can send out as many documents to be signed for each, as many as you need.
Not only does that result in a significant cost savings, but it’s also incredibly efficient and you can give your entire staff the ability to send documents for signing.
Making Property Management Easier
If you’re running your property management site on WordPress — and if not, you really should be — you have the power to handle all legal forms for your tenants in one convenient place. You don’t have to sign up for an external service and you can collect legally binding digital signatures without generating stacks of paper.
And it’s not just for property management! Legal Signing can be used to take any fillable PDF template you have in your possession, like a service contract, medical form, or legal document. For reliability and efficiency in collecting digital signatures in WordPress, Legal Signing for Gravity Forms is the perfect solution.