Gravity Forms is arguably the best tool for creating forms and collecting data from your visitors. However, getting to that data can be cumbersome — particularly for large teams. You need an easy way to export Gravity Forms entries automatically.
Automatic entry export using the Entry Automation Add-On
While Gravity Forms alone can’t be configured to automatically export form entries or email attachments, there is a way. You need an add-on that supports that functionality. Entry Automation is the perfect tool for setting up a system in Gravity Forms to run automated tasks.
Entry Automation installs just like any WordPress plugin. Once it’s installed and activated on your WordPress site, you’re ready to roll! Let’s walk through the setup steps.
Step 1: Configure an Export Task
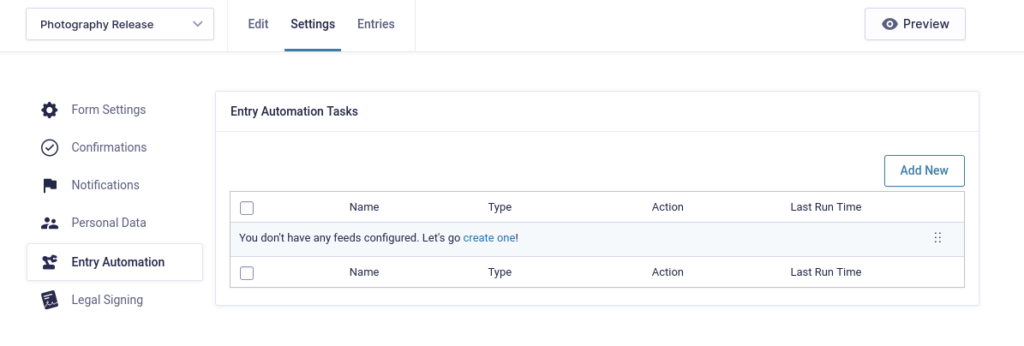
Once Entry Automation is installed, you’ll find a new Entry Automation tab under the Form Settings on any form. The automation settings can be found under that tab. From there you can add new Entry Automation tasks, modify them, and easily drag n’ drop to reorder the flow.
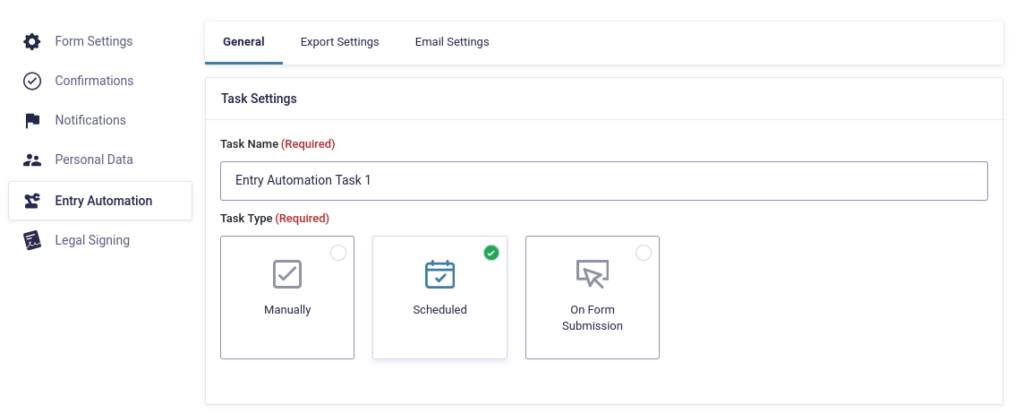
Click to add a new Entry Automation task. You’ll find some settings to adjust: Task Name, Task Type, and Automation Action. Task Name is used to describe what automation this task will perform.
Under Task Type, you control how the Entry Automation task is run; manually, on a schedule, or after the form is submitted.
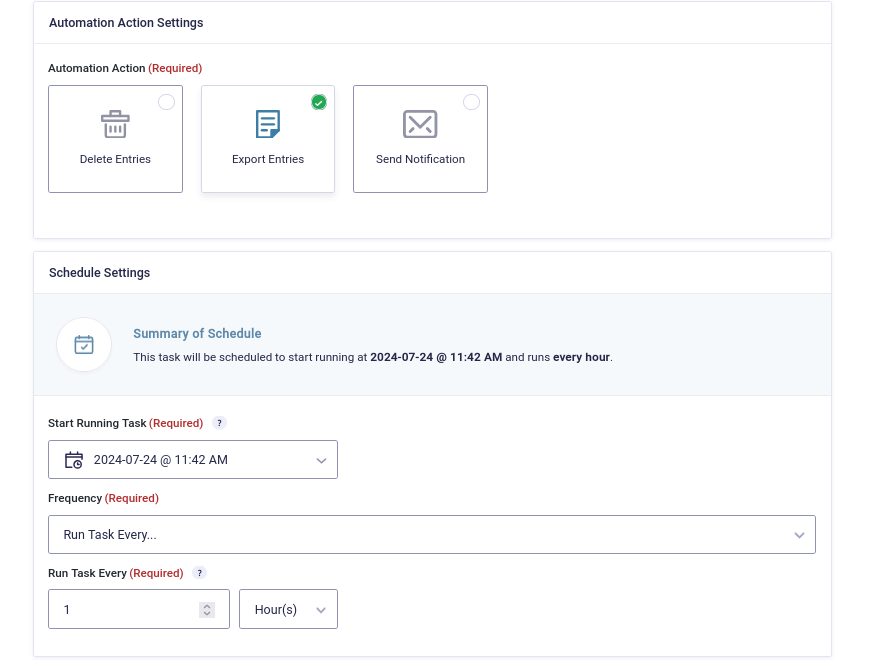
Automation Action allows you to choose what to do with the entries; delete them, export them, or send a notification. For this example, we’ll choose to export them.
Step 2: Schedule the task
In the Start Running Task field, you set what time you first want the task to run. You can also set how often you want the task to run under Run Task Every. This determines how frequently this task will run after the Start Running Task time you set.
Step 3: Target Entry Settings
Next, you can decide whether you want export All Entries, All Entries Since Last Task Run, or Custom Date Range.
The first two choices are exactly what they sound like. For Custom Date Range, you have some more options to configure.
Both the From and To date range fields are empty by default. When the From field is left empty, all entries since the beginning of time will be selected. When the To field is left empty, all entries up until the time your Entry Automation Task is being run will be selected.
If you want to set your own date range, you can use plain English phrases like “yesterday”, “4 hours”, or “3 weeks”. Entry Automation will display a preview relative to the current time set in your WordPress admin.
For example, let’s say you want to get all the entries from the past week. You would set the From date range to 1 week and leave the To date range empty. If you set the From date range to 1 day, you’ll get all the entries submitted in the past day.
Additionally, you can click the Select Entry By drop-down and choose Date Created, Date Updated, or from the Date field on the submitted form. There are also options to select for Entry Status.

At this point, it’s a good time to save your settings.
Step 4: Configure the Entry Export File
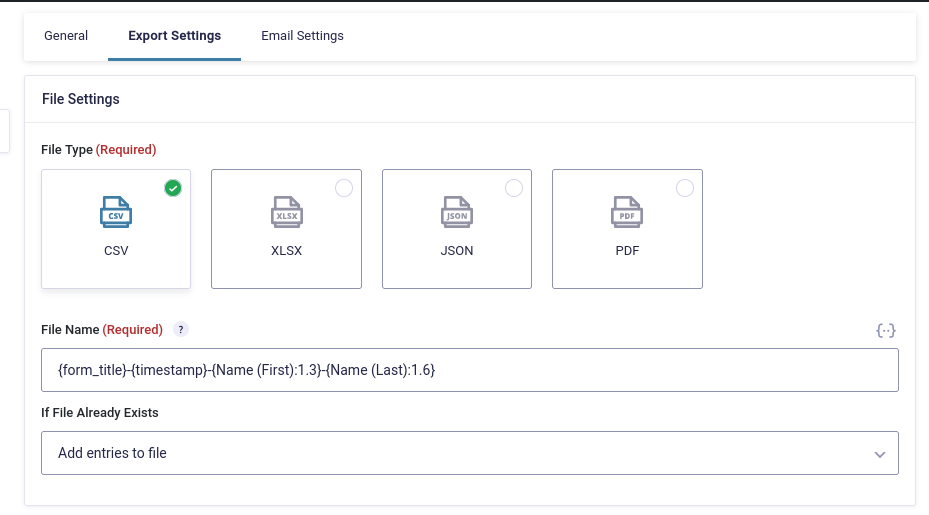
With your Entry Automation task defined, it’s time to set up the export file. Navigate to the Export Settings tab.
First, set the file name of the export file. In addition to typing a file name, there are multiple merge tags to choose from. The default is {form_id}, {form_title}, and {timestamp}. Click the merge tag icon in the upper right, and you can choose any merge tags from the fields on your form to create the filename. You can get as detailed as you want to create recognizable export file names!
To handle situations where a file is generated with the same name, you can choose to create an incremented filename, overwrite the file, or simply add entries to the existing file.
In the Field Settings section, select from the list which form field data you want to be included in the exported file.
At this point, you want to make sure you scroll below the Field Settings list to the Export Files section. This is where you’ll enable the Include Files with Export File option.
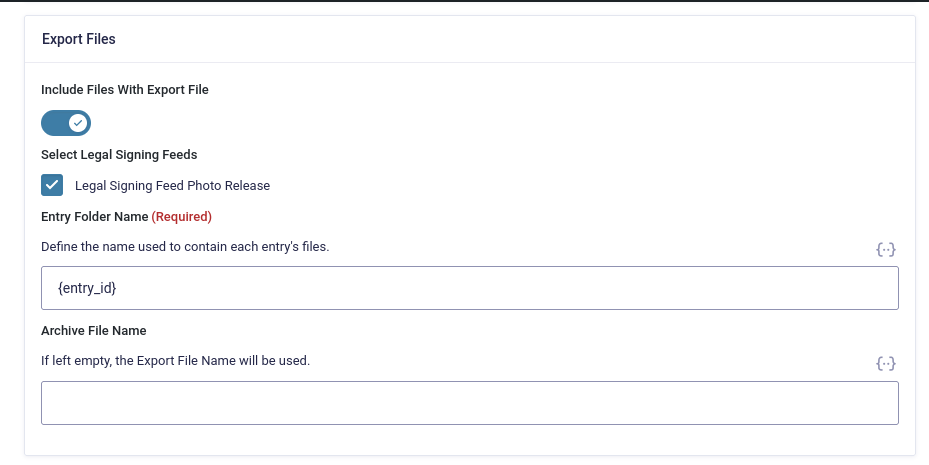
Entry Automation will save the automatically exported files to a protected folder in your site’s uploads directory. If you want to save server space, the export file can be deleted after it’s been exported and emailed to your user account.
Step 5: Email the Export File Automatically
Finally! This is the magic you came for — the automatically emailed entry export file.
In the Email Settings tab, click the Email Generated Export File toggle to enable the feature. Export files can be sent to multiple email addresses by separating them with commas. The Email merge tag will allow you to automatically email the file export based on completed fields in the submitted form or a WordPress user.
Further, you can customize the email subject and message to make them fit your branding, or just be more personable.
Save your settings, and your Gravity Forms entries will now be exported and attached as emailed automatically.
Entry Automation is the perfect tool for automatic entry exports
If you want to export Gravity Forms entries automatically, Entry Automation is the easy, non-code solution you need. You can also include the entry data in customized email notifications. It also helps you keep your server clean by allowing you to delete entries you no longer need — and it all happens automatically.
Grab a copy of Entry Automation and see how easy it is to start automatically exporting entries in minutes!