There are a few ways to retrieve form entry data from Gravity Forms. The most obvious is logging into your WordPress site and running down the list of submissions. If you have a large volume of entries, that can be time-consuming — not to mention torture on your wrist from all that clicking. Another method is to have the data emailed to you, which is easy, but with the amount of emails we all deal with, it may not be the cleanest.
There’s a third, better option. You can export entry form data and send it straight to your Dropbox account using Entry Automation. Export entries in CSV, JSON, Excel, and PDF formats and review them at your leisure. Rather than sift through each submission individually, you can combine multiple entries into one easy-to-read file. It’s much easier to share the data by giving colleagues access to your Dropbox folder. There’s also the option to have the file deleted after export so you can keep your web server clean.
It’s easy to configure exports from Gravity Forms to Dropbox, and in this post, I’ll show you how.
Getting Started with Entry Automation
If you have a form set up on your WordPress site using Gravity Forms, then all you’ll need to get started is our Entry Automation product and the Dropbox extension. Entry Automation helps you save time by automating the process of data export. You can export your data in one of the above-mentioned formats— and automatically upload the files to your Dropbox account.
Once you activate Entry Automation, you can install and configure the Dropbox Extension.
Install the Dropbox Extension
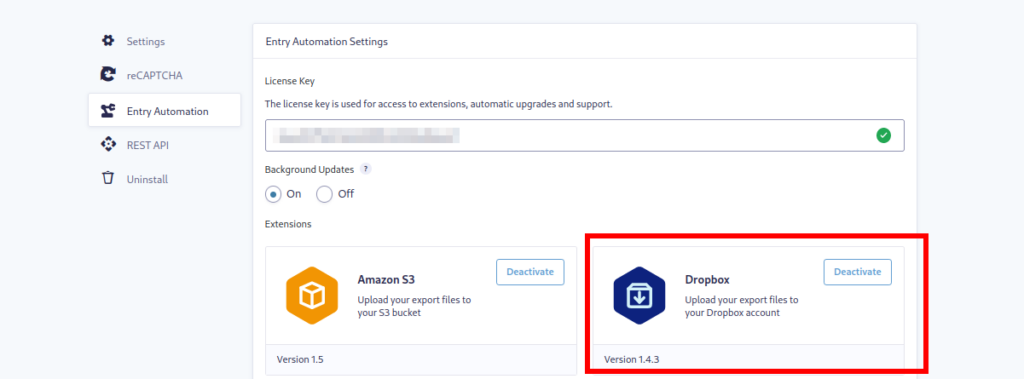
To get the Dropbox extension, navigate to Gravity Forms → Settings and click Entry Automation. You’ll see a list of available extensions below if your license key has been entered and validated. You may need to upgrade your license to install the extension, in which case you’ll see an “Upgrade License” button.
When your license is upgraded, you’ll have an “Install Extension” button. Click that to download it, then activate the extension.
Authenticating with Dropbox
Now, you’re ready to connect with your Dropbox account. In the same menu, scroll down until you see the Dropbox Settings section — you may need to refresh the page if you don’t see it. Click the button to start the authentication process.
If you’re logged into your Dropbox account, it should connect automatically. If not, you’ll need to enter your Dropbox login credentials.
Once that’s done, you’re connected! Now, you can export entries directly to your Dropbox account.
How to Send Form Entries to Dropbox
In your forms list, hover over any form and select Settings → Entry Automation. Click the Add New button in the Entry Automation Tasks menu to create a new task. On the next screen, start by giving your task a name like “Export to Dropbox” or any name that’s easy to recognize in your Tasks list.
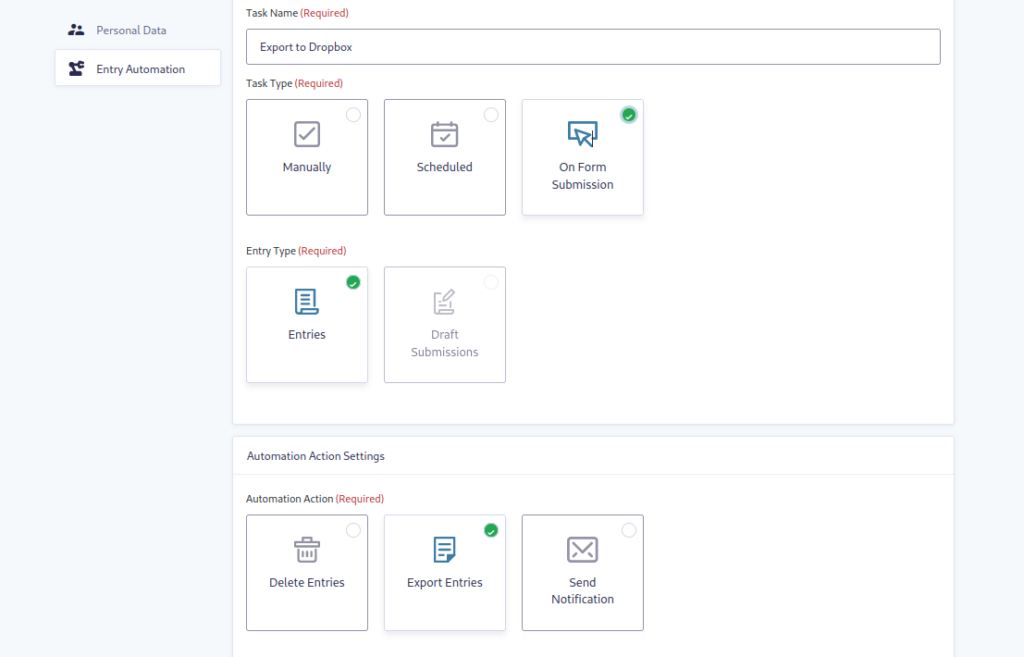
Choose your Task Type and Entry Type settings according to your needs. Under Automation Action Settings, you’ll, of course, want to choose Export Entries. If you want to enable any Conditional Logic, do that now and then click Save Settings.
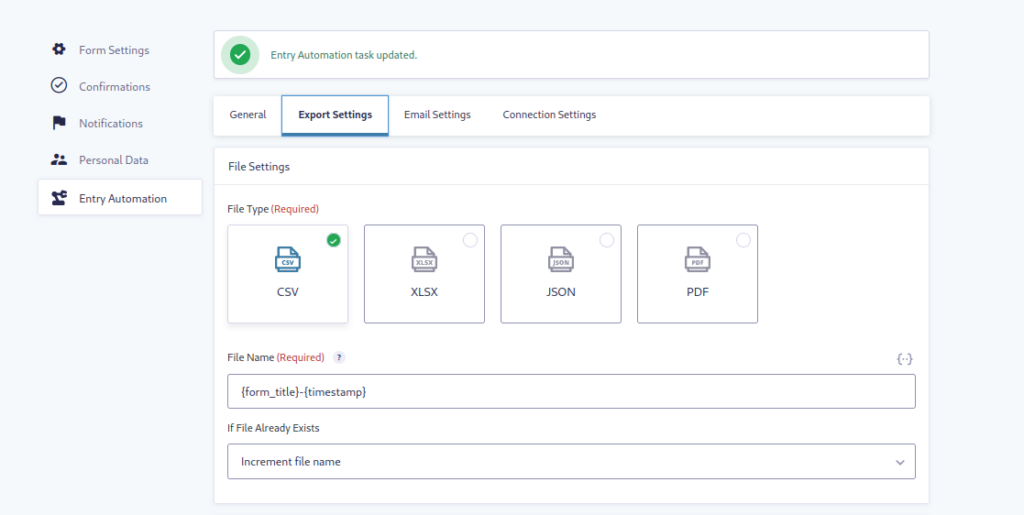
Next, you’ll decide in what format you want your files exported. You can only choose one at a time, but you can create additional tasks later if you want to include other file formats. You also have the option to specify the file name structure using merge tags and how to handle duplicate file names.
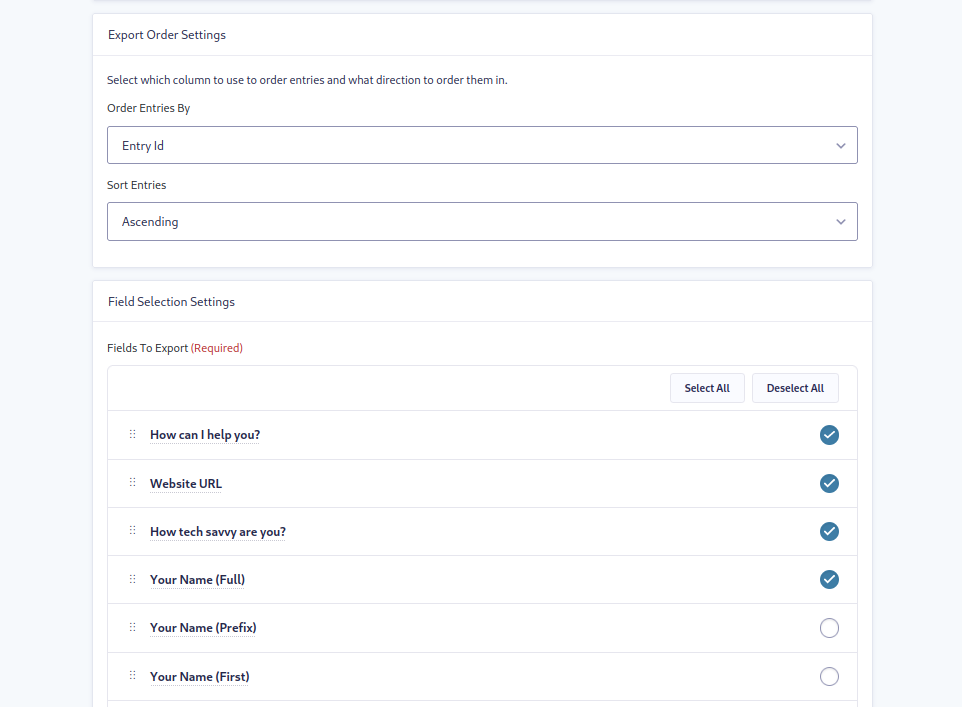
In the following sections, you’ll configure how the entries should be ordered and sorted in the exported file. Then, in the Field Selection Settings list, select all entry data you want to include in the export.
Lastly, you have the option to delete the export file from your site once it’s been sent to Dropbox.
Click Save Settings, then head to the Connection Settings tab*.
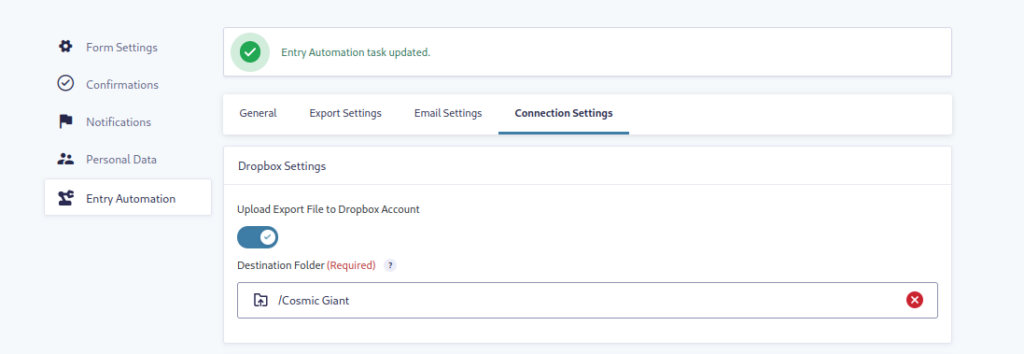
You’ve already connected your Dropbox account, so just click the Upload Export File to Dropbox Account toggle. Type in a specific destination folder (or leave it blank to use the root folder). Click Save Settings, and you’re done!
*Note that you can have the exported file emailed in addition to being uploaded to Dropbox. See the Email Settings tab to configure it.
Viewing Your Exported File(s)
Once some entries have been submitted on your form, you’ll see files populate your Dropbox folder.
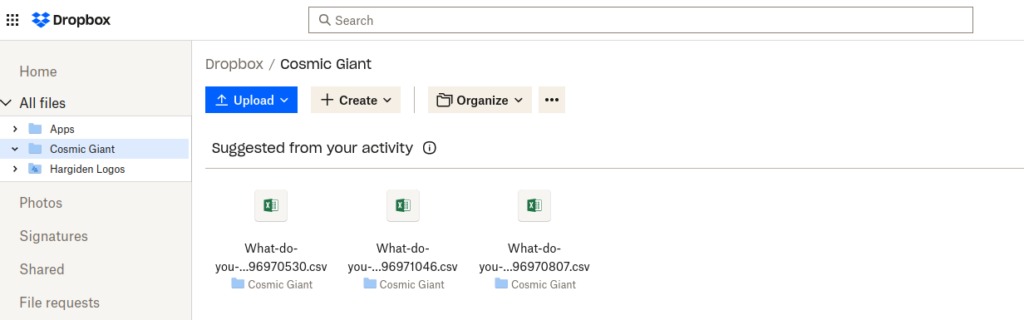
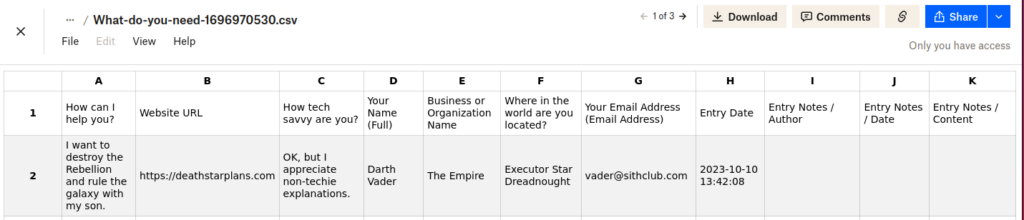
When you open the file, any entry data you selected from the list will be displayed. For example, a simple CSV file will display entry data in a spreadsheet format.
From here, you can go back into your task and tweak any settings to dial in your ideal entry data export.
Gravity Forms to Dropbox Made Easy
By uploading Gravity Forms entries to your Dropbox account, you’re making it a lot easier for yourself to manage form submissions. With the power of Entry Automation, you can also schedule tasks, delete entries, and send custom notifications to anyone who needs to review the form data.
Check out all the features of Entry Automation and see how it can save you tons of time.