There are multiple ways to retrieve entry data from Gravity Forms. For one, you can log into your WordPress site and move down the list of submissions. If you have a lot of entries, that may be time-consuming and exhausting. Second, you can have the data emailed to you. That may not be a great option if you don’t like seeing your inbox explode.
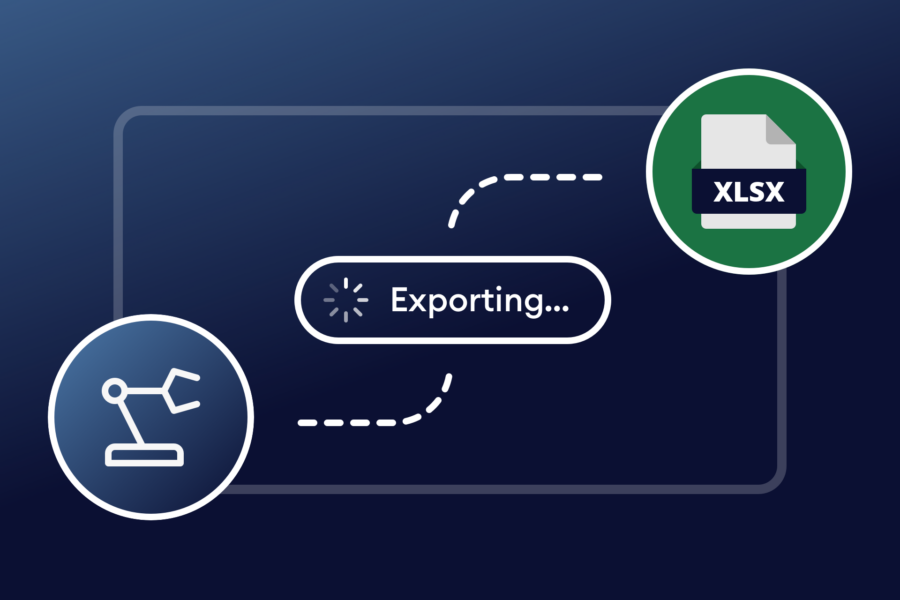
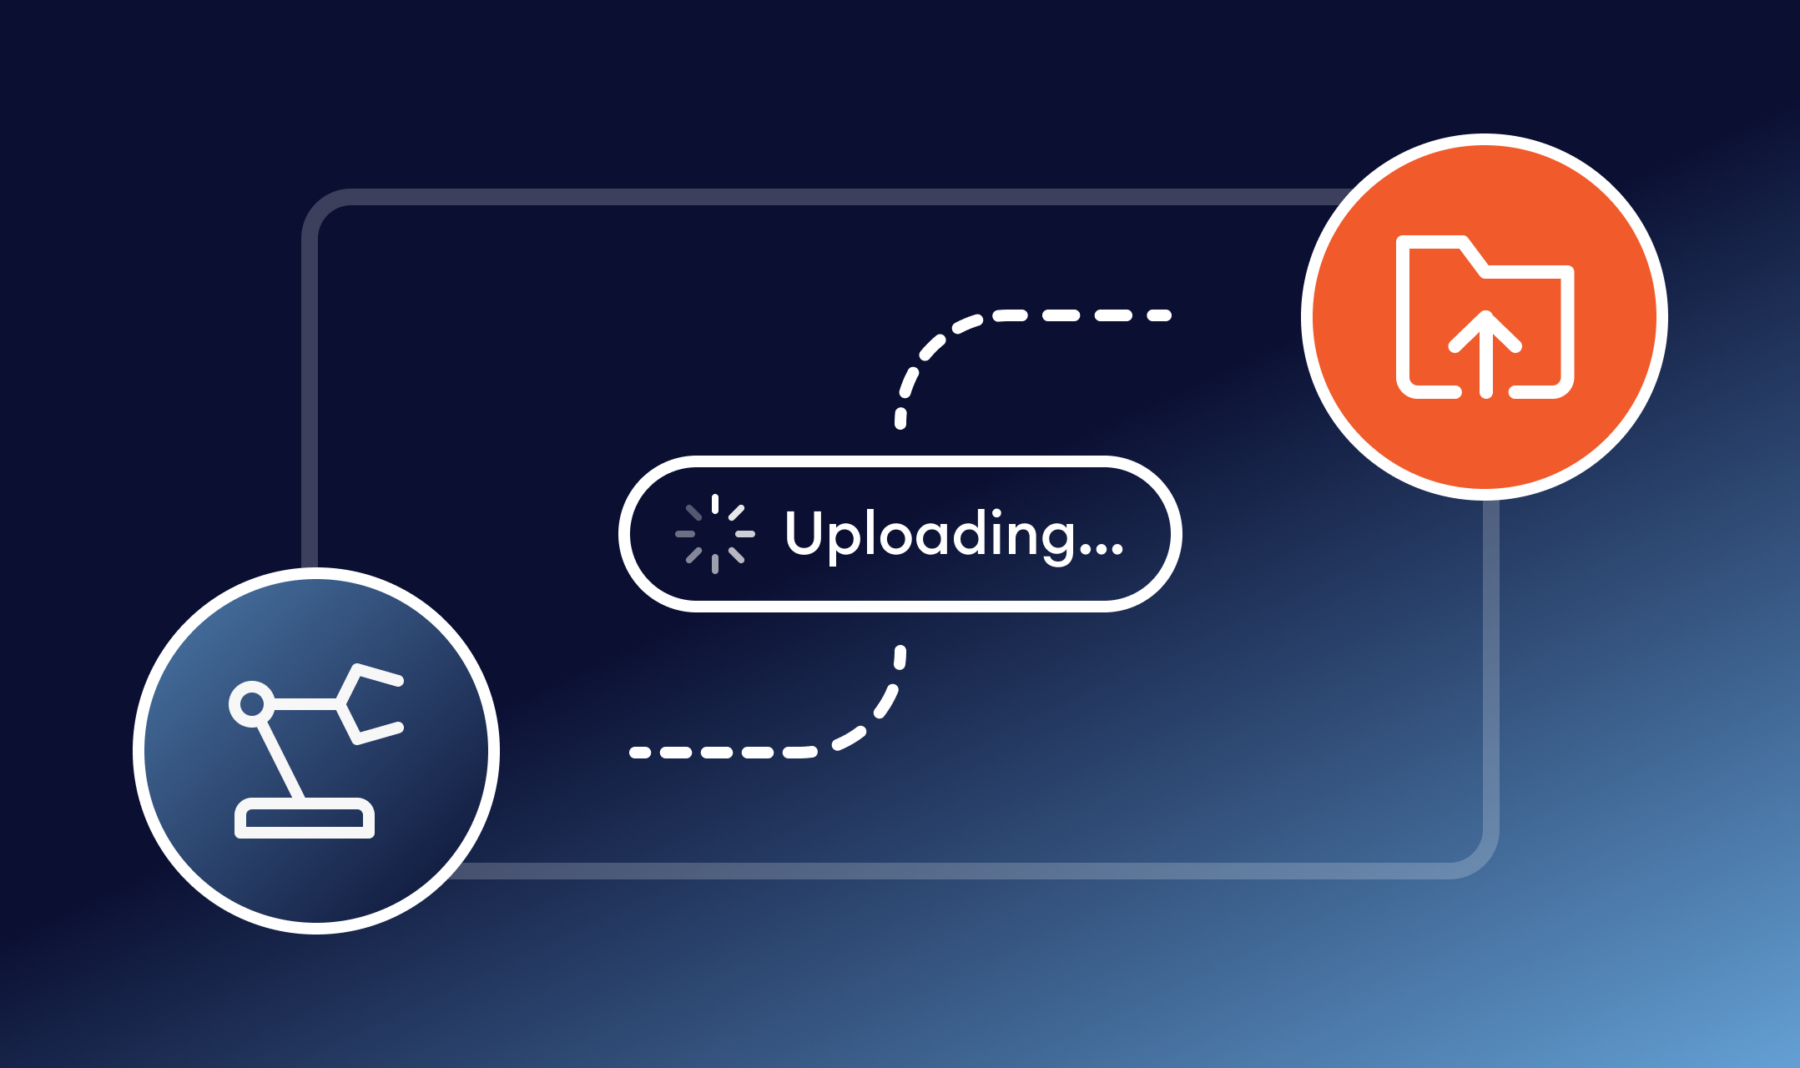
Thankfully, there’s an even better way. Using Entry Automation, you can export form data and send it via FTP to a folder on your server. Export entries formatted as CSV, JSON, Excel, or PDF files and review them in a convenient location. You can combine multiple entries into one easy-to-read file rather than one submission at a time. There’s also the option to have the file deleted after export so you can keep your web server clean.
Setting up exports from Gravity Forms to FTP is easy. In this post, I’ll show you how to do it.
How to Start with Entry Automation
If you’re already using Gravity Forms, then all you’ll need is our Entry Automation product and the FTP extension. Entry Automation helps you automate the process of exporting your form entries. You can configure the uploading of files to your FTP server so it happens automatically.
When Entry Automation is activated, you can install the FTP Extension.
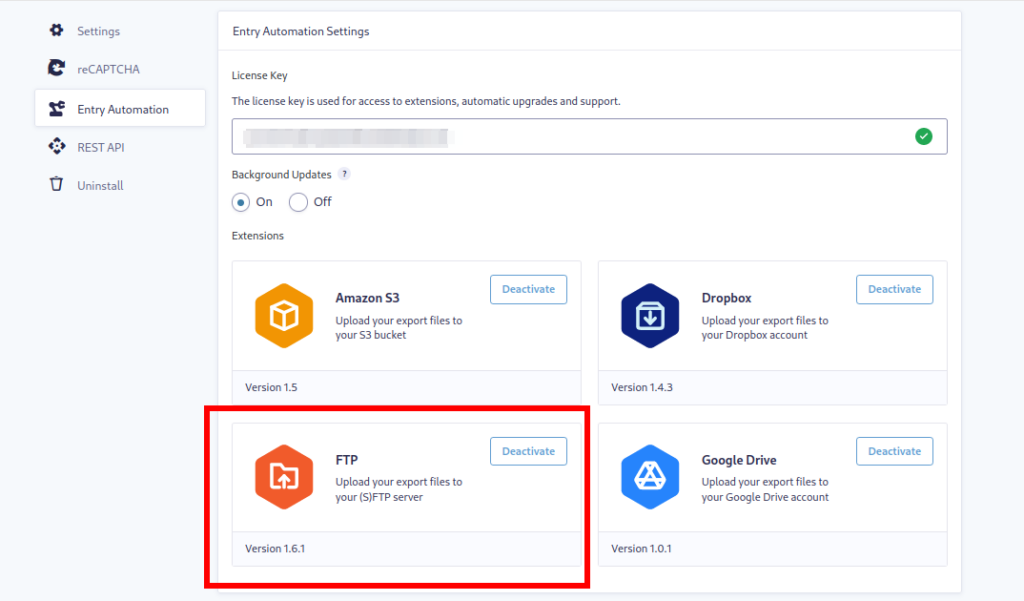
Installing the FTP Extension
To get the FTP extension, navigate to Gravity Forms → Settings and click Entry Automation. You’ll see a list of available extensions below if your license key has been entered and validated. You may need to upgrade your license to install the extension, in which case you’ll see an “Upgrade License” button.
When your license is upgraded, you’ll have an “Install Extension” button. Click that to download it, then activate the extension.
How to Send Form Entries to FTP
Choose a form from your Gravity Forms list. Hover over it and select Settings → Entry Automation. Click the Add New button in the Entry Automation Tasks menu to create a new task. Give your task a name like “Export to FTP” or whatever works for you.
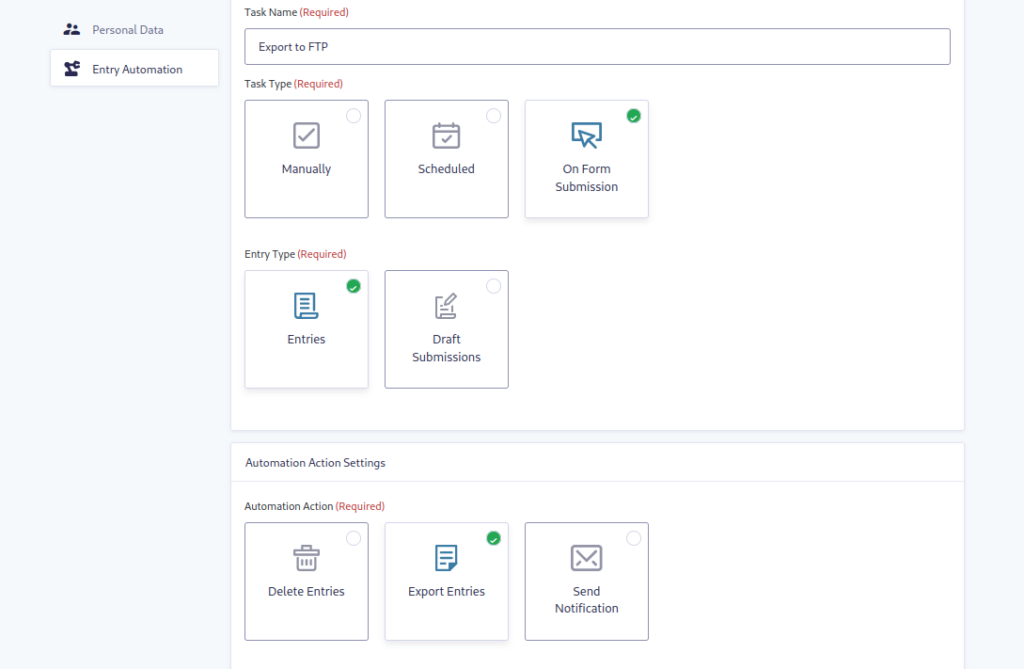
Choose your Task Type and Entry Type settings based on your needs. Under Automation Action Settings, you’ll need to choose Export Entries. You can also set any Conditional Logic parameters if you like, and then click Save Settings.
Next, you’ll decide the file format to be exported. You can only choose one, but you can create additional tasks later for other file formats. You can also set the file name structure using merge tags and duplicate file name handling.
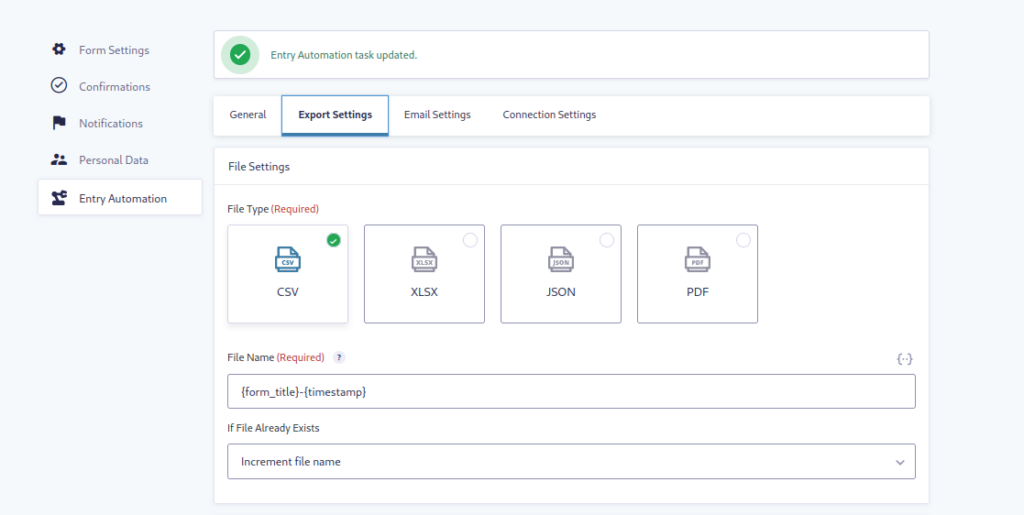
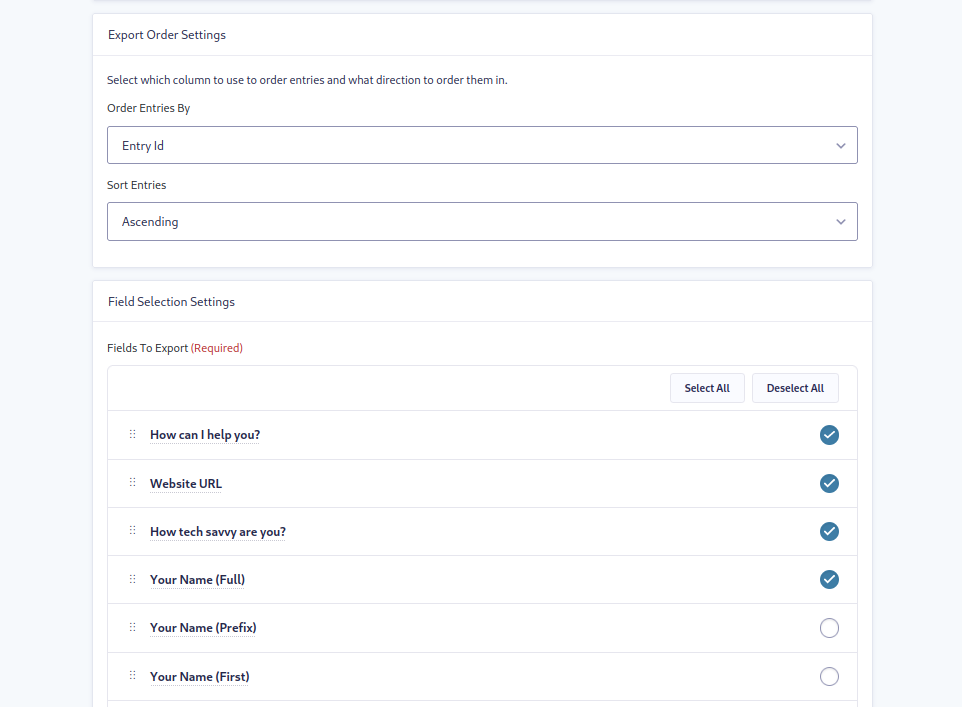
In the next section, you can configure how the order of the entries and how they will be sorted in the exported file. In the Field Selection Settings list, select any entry data you want to include in the export.
You can toggle the option to delete the export file from your site once it’s been sent to FTP.
Save your settings, then head to the Connection Settings tab*.
When you toggle the switch to Upload Export File to FTP Server, the settings will appear in the menu. First, choose FTP or SFTP protocol.
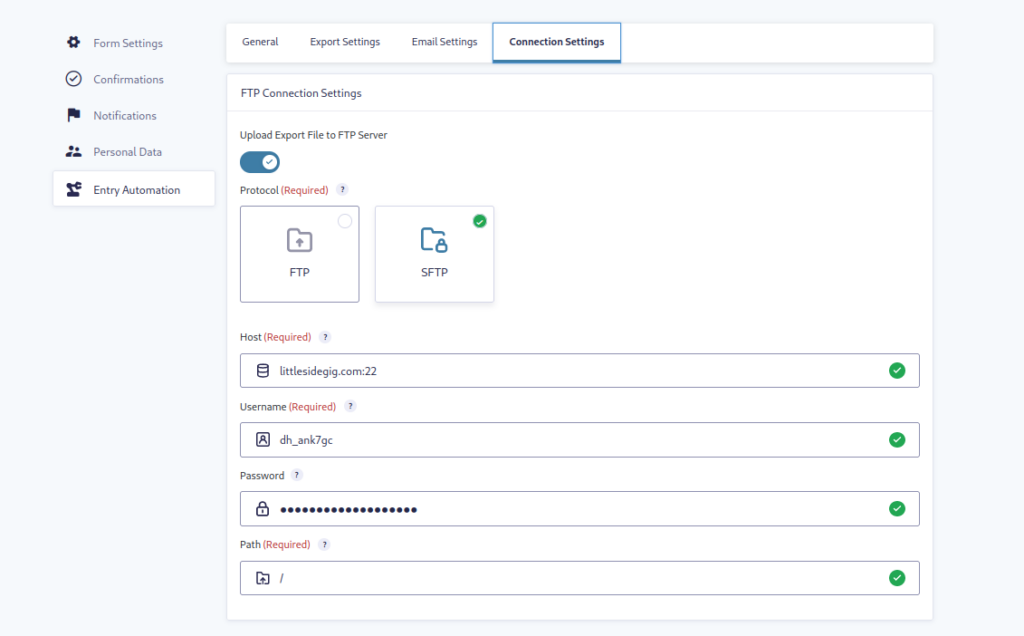
Then, fill in the fields for your Host, Username, Password, and Path. Click Save Settings. If the information is correct, green check marks will appear, confirming that the connection to your server has been verified. If you see a red X next to a field, check your settings and try again.
*Additionally, you can set the exported file to be emailed as well as being uploaded to FTP. See the Email Settings tab to configure it.
Viewing Your Exported File(s)
When entries are submitted through your form, you’ll see files populate your designated FTP folder.
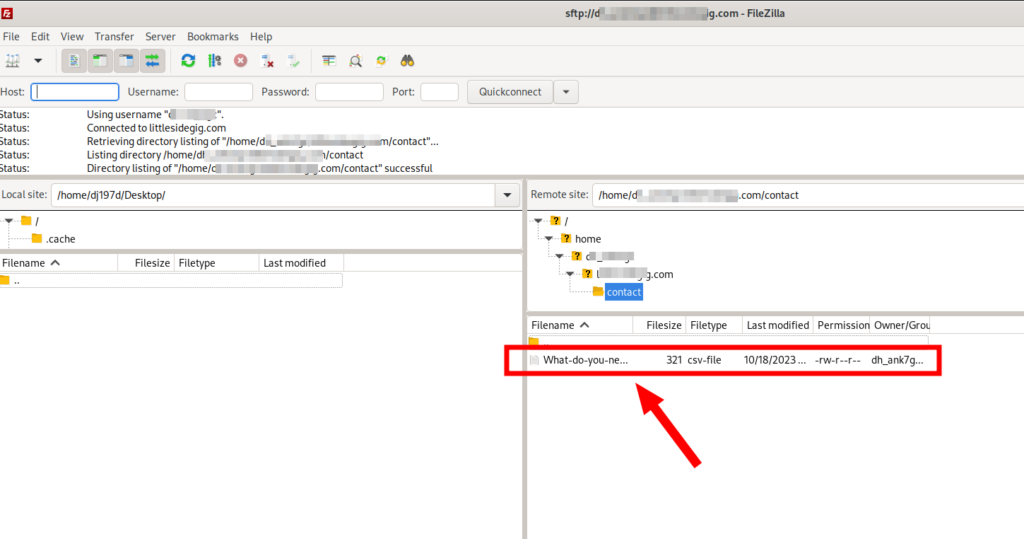
When you open the file, any entry data you selected from the list will be displayed. For example, a simple CSV file will display your chosen entry data in a spreadsheet format.
If you like, you can go back into your task and tweak any settings to tweak your entry data export.
Gravity Forms to FTP Made Easy
When you upload Gravity Forms entries to your FTP account, you’re making it a lot easier for yourself to manage form submissions. With the power of Entry Automation, you can also schedule tasks, delete entries, and send custom notifications to anyone who needs to review the form data.
Check out all the features of Entry Automation and see how it can save you tons of time.