Key Takeaways
- The Importance of Automating File Deletion: Manual deletion is time-consuming and inefficient, especially as file uploads accumulate and can slow down your site or increase hosting costs.
- Default Storage and Risks: If left unmanaged, file uploads can crowd your server and database, leading to performance issues and higher costs.
- Manual vs. Automated Deletion: Tools like Entry Automation allow you to set schedules for file deletion, making the process faster, more efficient, and hands-free.
- Setting Up Automated Deletion: Entry Automation is a Gravity Forms add-on that lets you schedule file deletions (and other tasks) without coding.
- Customization and Best Practices: Retention periods can be customized per form, allowing you to balance storage needs with data retention requirements.
- Monitoring and Notifications: You can set up notifications to alert you when files are deleted, providing a record of actions taken.
- Compliance and Troubleshooting: Ensure your automated deletion process aligns with GDPR regulations and manage cron job performance.
Do you receive a large number of file upload entries through your forms? If so, you may be wondering how to manage both files and entry data in a practical and efficient way. The answer is to automate Gravity Forms file cleanup with scheduled deletion workflows. Automation will help you save server space, ensure compliance, and streamline your form management effortlessly.
Why schedule automated Gravity Forms file deletion?
If you’ve been tasked to delete files uploaded through Gravity Forms on a website, you probably understand how tedious it can be. While there are multiple ways to do it, it’s super time-consuming. The new way of managing anything on your website is automation, and deleting file uploads is no exception.
Before we get into how automation can help, let’s get under the hood and talk about how those files are stored and managed.
Managing Gravity Forms file upload storage effectively
Files uploaded through Gravity Forms are not stored in the main Media Library unless you use an additional plugin or integration. By default, they are stored on your website’s server.
Default file storage location and implications
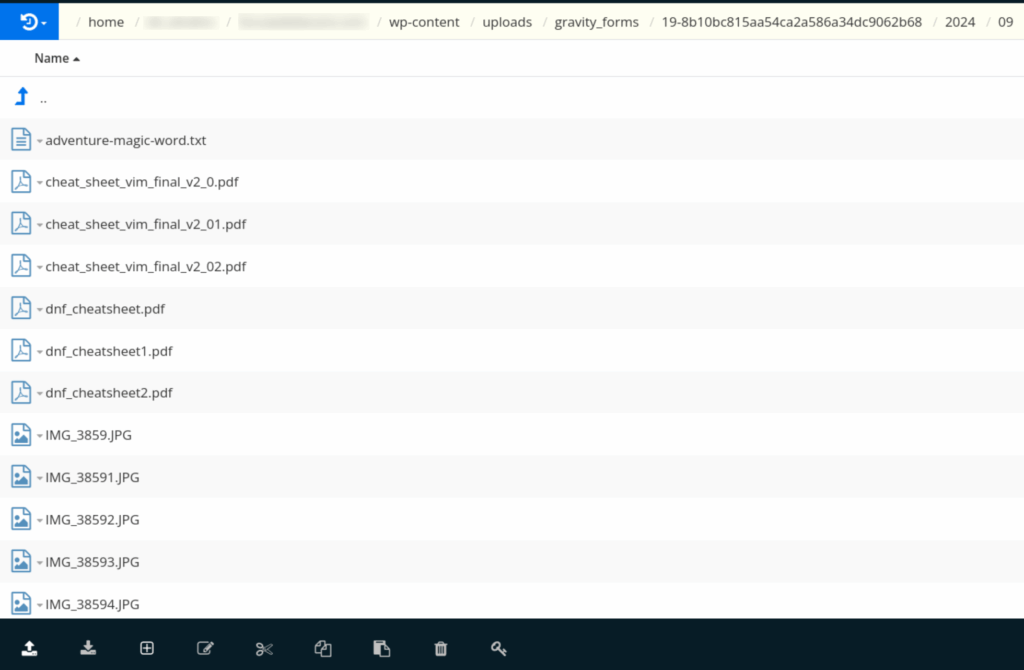
The files are stored in a specific directory within the WordPress uploads folder. The typical path is: /wp-content/uploads/gravity_forms/{FORM_ID}-{randomstring}/. The file path is hidden from public view for security reasons, but administrators can retrieve or manage files as needed.
They’ll sit there until you delete them. Which, of course, means that if you don’t manage them, they will accumulate and take up more and more space.
Risks of unchecked file accumulation
You may already see where this is going. Over time, those accumulated file uploads will crowd your web server and your WordPress database, leading to:
- your site being slow to load for users.
- additional costs as you pay your web host to expand your server space.
It’s clear that these file uploads need to be deleted before you encounter server issues. I’ll cover both manual and automated methods so you can see the differences.
Manual vs. scheduled automated file deletion in Gravity Forms
There are two ways to delete files from your server: manually or by a scheduled, automated process.
Limitations of manual deletion processes
There are two ways to delete files uploaded through Gravity Forms manually. One method is to access them via FTP, locating each folder and file path.
The other way is through the WordPress Admin. You can delete any entry or multiples right from your list of form entries. That will also delete any file uploads associated with the entries. However, if you’d like to keep the form entry data and only delete the file uploads, click View on a specific entry. Once inside the entry, you can see the uploaded file(s). Click Edit in the right-side menu.
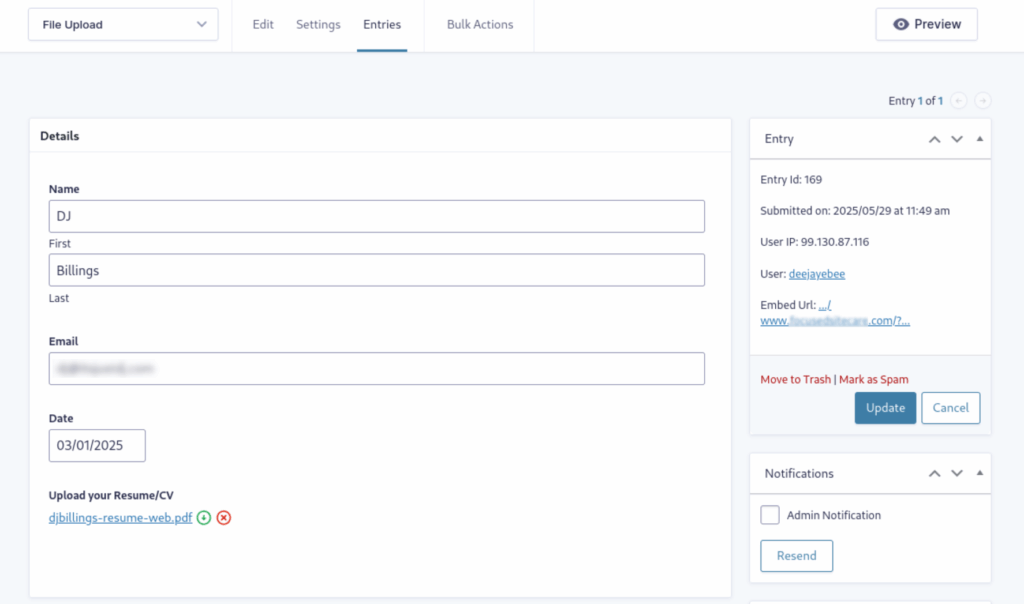
Download and delete icons will appear next to the files, and you can delete the file. Click Update, and that’s it. The form entry data remains, but the uploaded file is gone.
The biggest issue with this manual method is that it’s a time-consuming hassle. And unfortunately, it won’t happen by itself — unless you set up automation.
Benefits of scheduled automated deletion
Your workload becomes much lighter when you schedule the deletion of uploaded files for several reasons.
- It’s fast. Deletion can happen immediately after form submission.
- It’s efficient. Once you set up a schedule, your work is done.
- It’s hands-free. Your server stays clear without your direct involvement.
Creating an automated file deletion process is surprisingly easy and doesn’t require any coding. Let’s go over the steps.
How to schedule Gravity Forms uploaded file deletion with Entry Automation
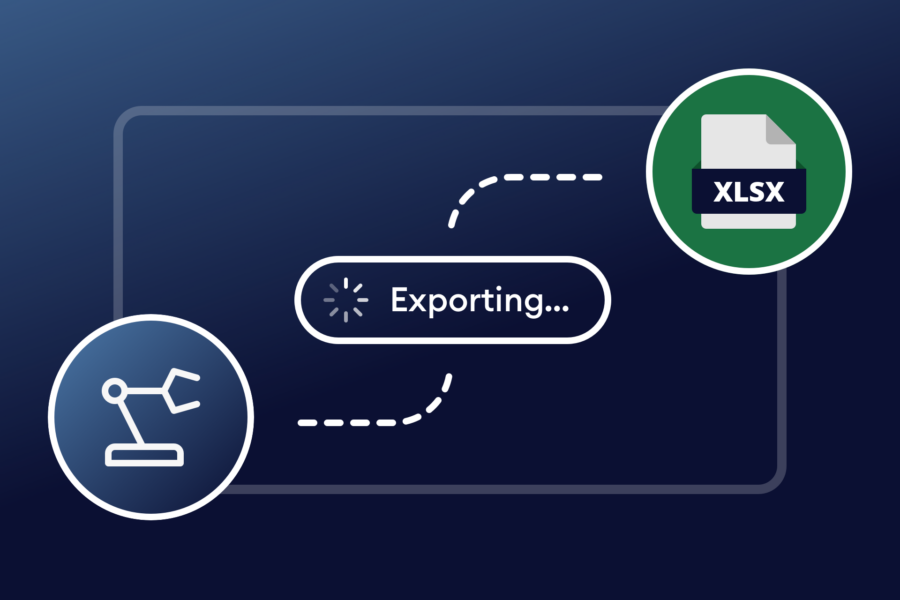
First, you need a Gravity Forms add-on that provides automated file deletion functionality. Entry Automation is that add-on. Entry Automation helps you simplify common tasks in Gravity Forms. You can easily export entries, delete specific entry data and file uploads, and send reminder notifications.
Installing and configuring Entry Automation for Gravity Forms
Entry Automation installs like any WordPress plugin. Once it’s installed and activated on your WordPress site, you can configure it inside your familiar Gravity Forms editor. From your Forms list, hover over a form and select Settings → Entry Automation. You can also access Entry Automation from the top of the form editor.
Creating an automated file deletion task
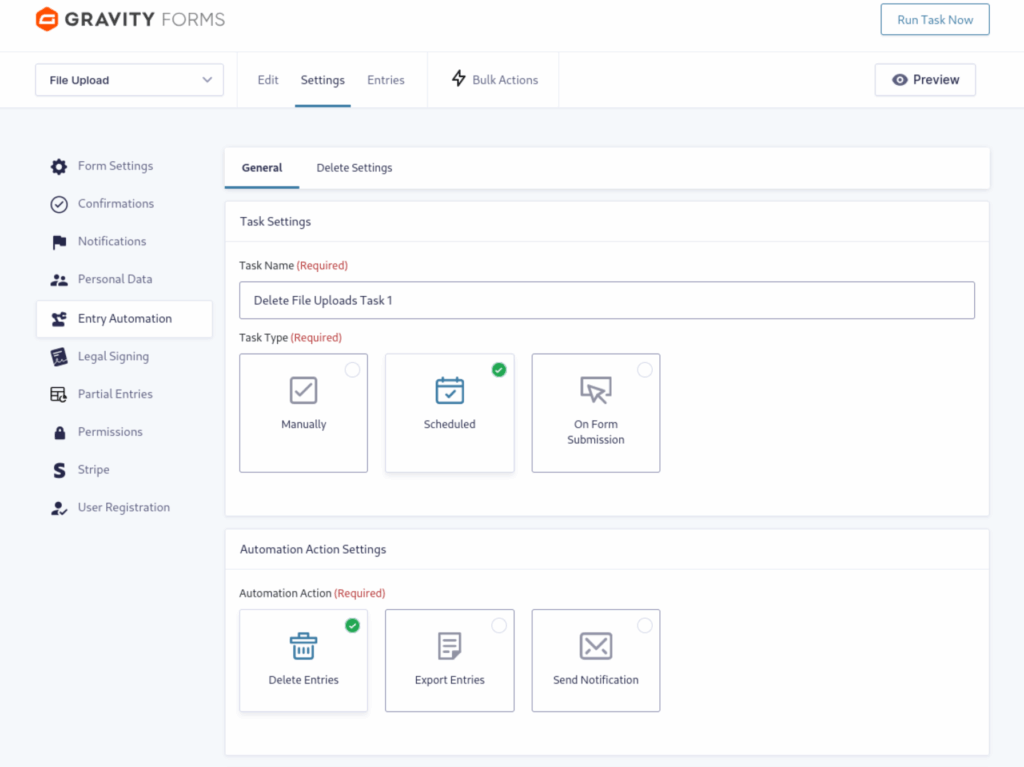
Click Add New to add a new Entry Automation task. Give the Task a name that makes sense for your workflow.
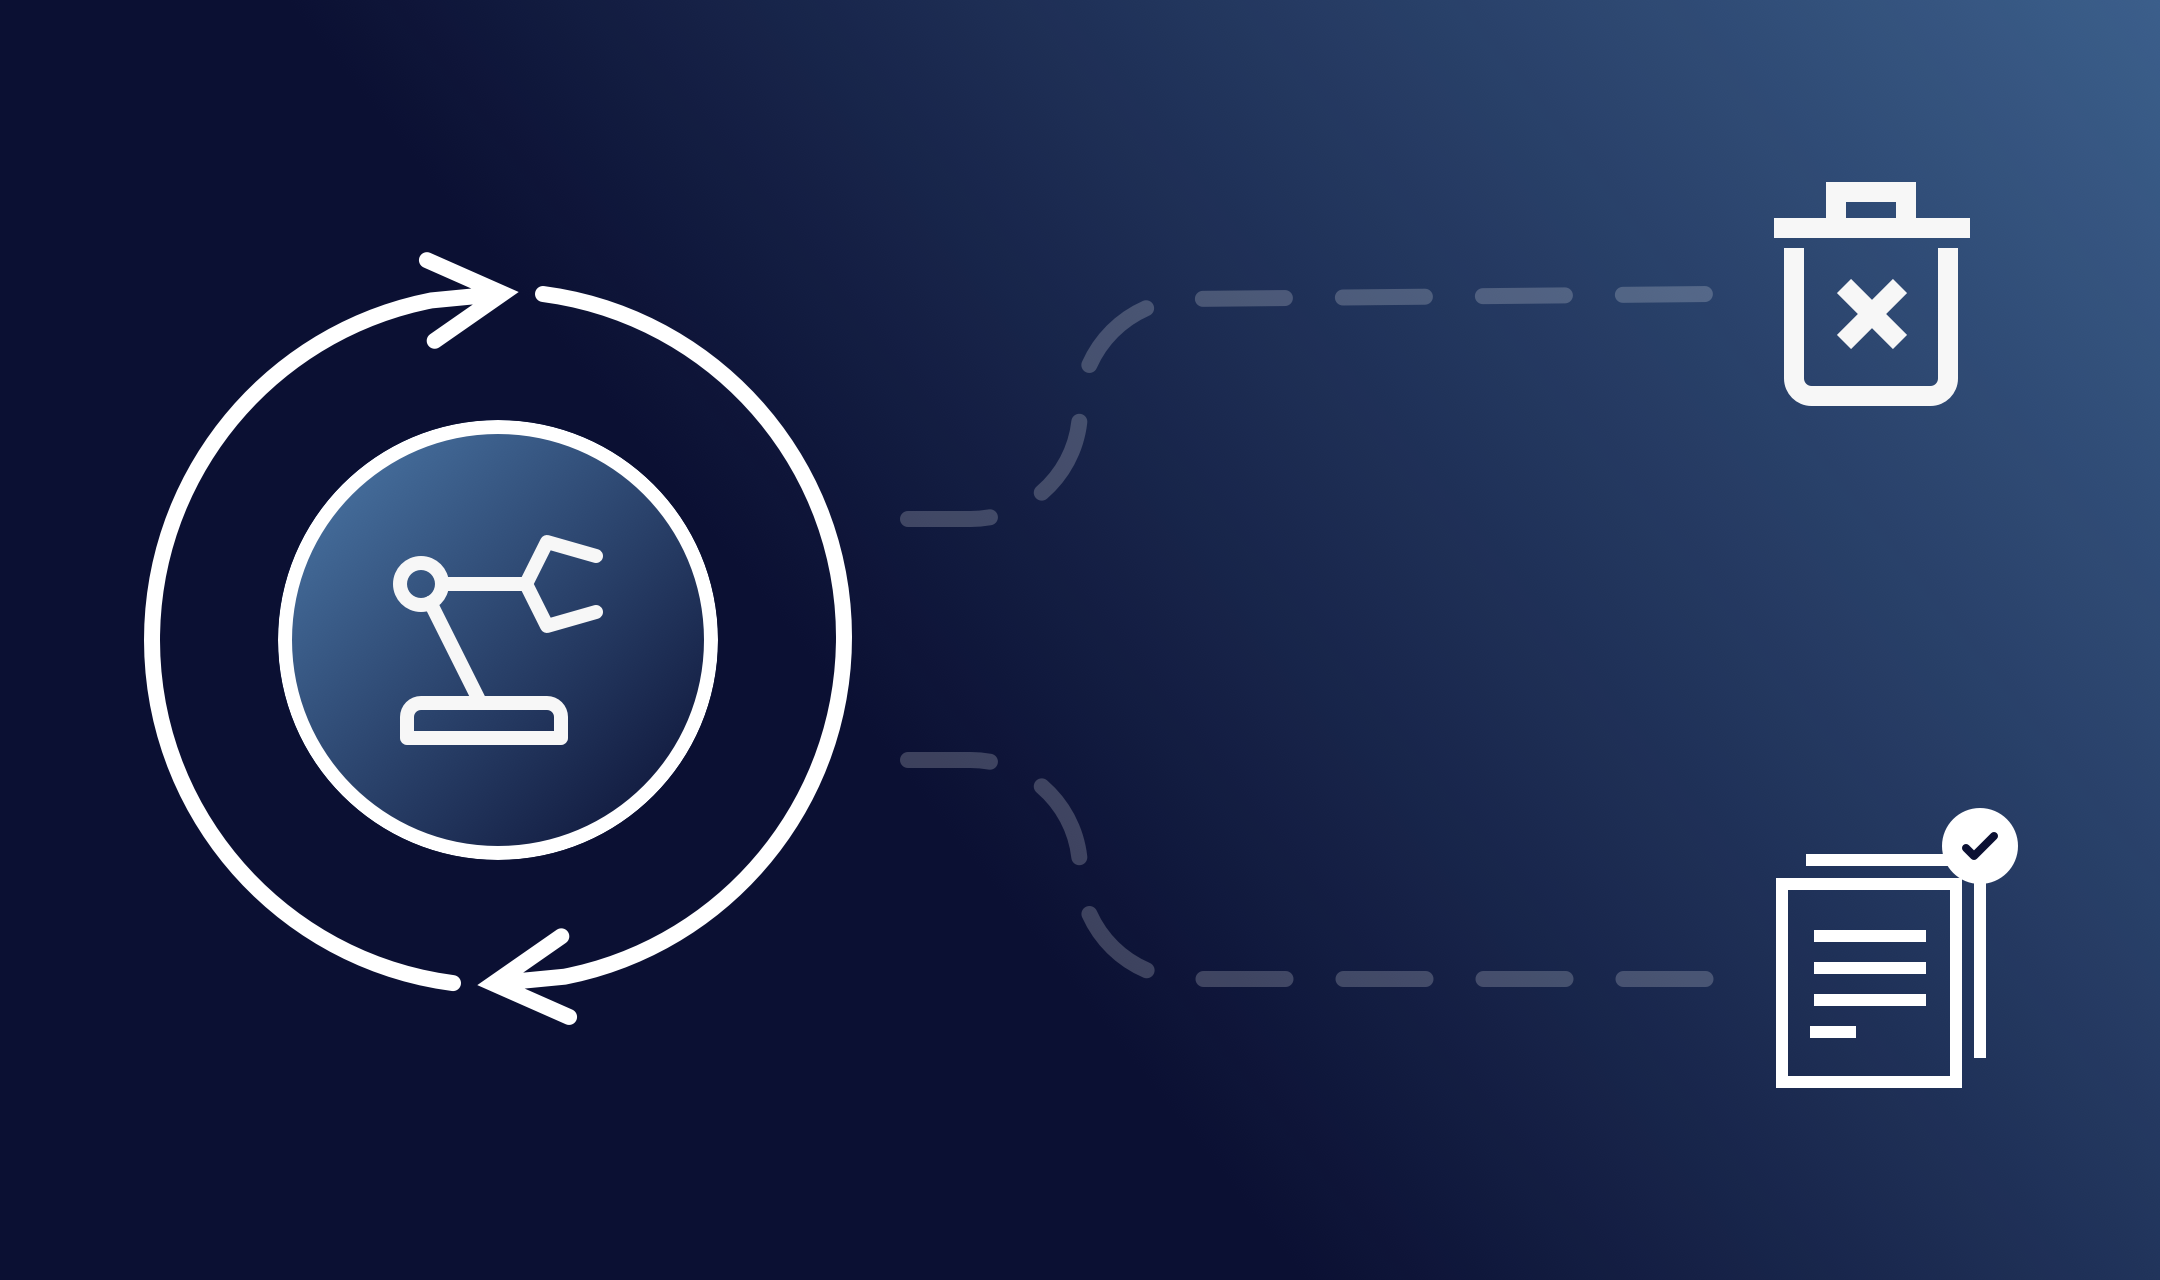
Under Task Type, you control how the Entry Automation task is run —manually, on a schedule, or after the form is submitted. Automation Action lets you choose what to do with the entries: delete them, export them, or send a notification. In this case, we’ll, of course, choose “Delete Entries.”
Next, you’ll schedule the uploaded file deletion.
Customizing deletion schedules and criteria for optimal results
You have several options for scheduling the Entry Automation Task. First, you pick when the Task should start running for the first time.
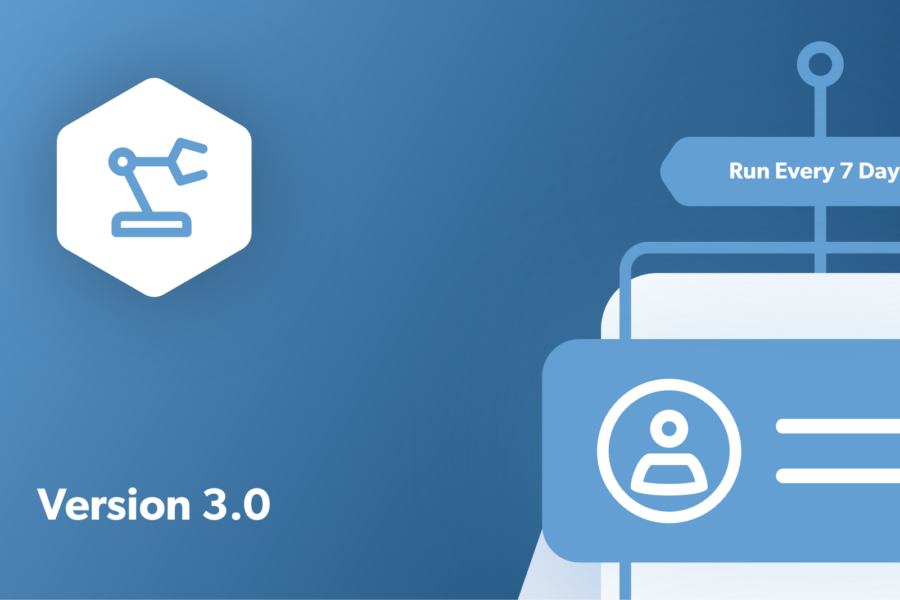
Then, you’ll choose how often the Task will run under Frequency. You can schedule file deletion every minute, hour, day, week, or month. Alternatively, tasks can be scheduled to run on specific days of the week or month.Next, you’ll configure the Target Entries Settings. In this section, you’ll find choices for deleting All Entries, All Entries Since Last Task Run, or Custom Date Range.
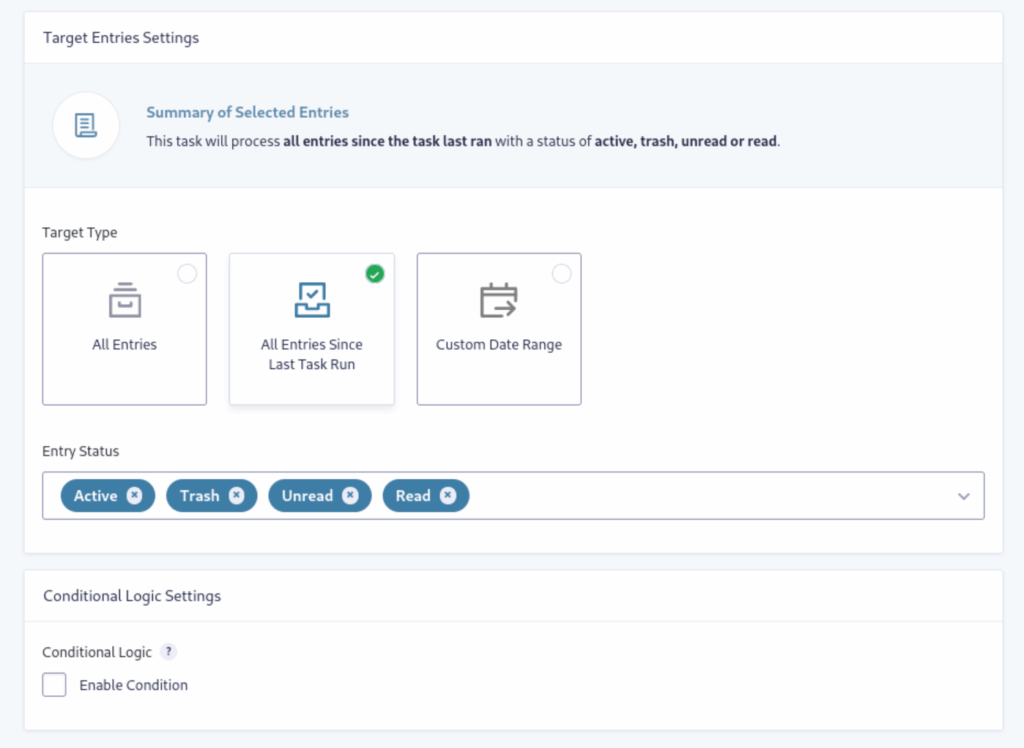
Additionally, you can apply Conditional Logic to drill down your criteria further.
Deleting file uploads immediately
If you prefer to have file uploads deleted directly upon form submission rather than a schedule, go back to the previous section and select that option. When configured, the file upload will be emailed to you or anyone you choose but will not be saved on your server.
Deleting the file upload specifically
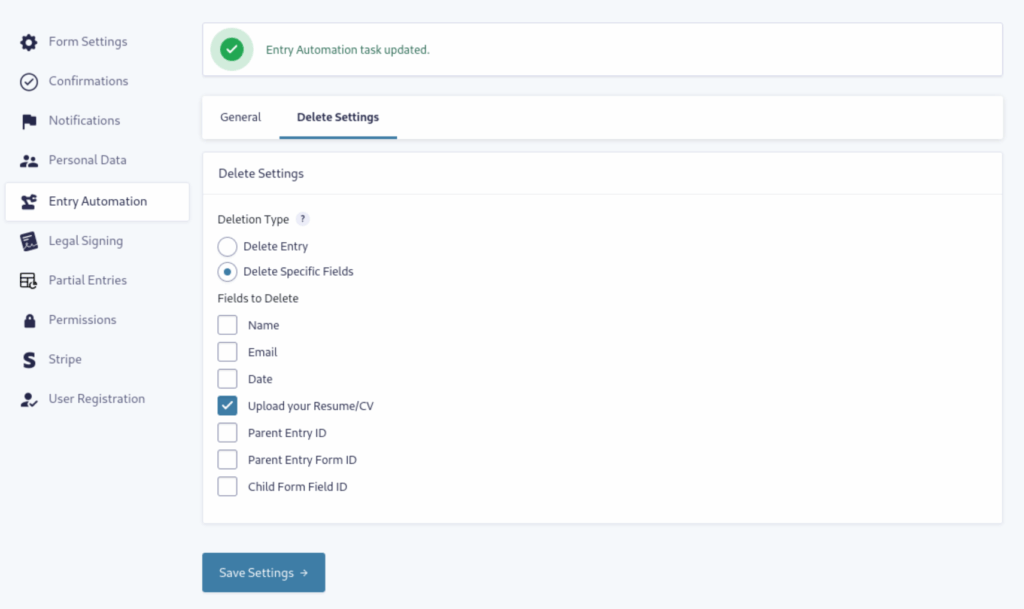
While still in the Entry Automation menu, move to the Delete Settings tab. You can delete the entire entry if you wish. However, if you want to keep the entry data and delete only the file upload, select ‘Delete Specific Fields.’ Then, you’ll need to select the field label that matches your file upload field.
Whether you’ve set up deletion on a schedule or upon form submission, you’ve successfully created an automated process that will delete file uploads without requiring any further action from you.
Best practices for automated Gravity Forms file management
We’ve covered how to schedule uploaded file deletion and the reasons why you should keep your server from getting clogged up. Now, let’s cover some recommended approaches for overall file management in Gravity Forms.
Determining appropriate automated retention periods
Consider that it may not be necessary to delete every file uploaded through your forms immediately. How long should you hold onto them? That’s entirely dependent on your server space, the number of form entries you collect in a certain period, and the size of the files being uploaded.
You may also have different strategies for various forms. For example, if you had an employee application form that asked for a resume/CV, cover letter, and references, those file uploads could quickly add up with a handful of applicants. In that case, you should set up file deletion upon form submission.
The good news is that by using Entry Automation, you can individualize each form with a specific file deletion plan. You can also create various Tasks to export those file uploads before deletion, sending them to cloud storage like Dropbox or Google Drive.
Balancing storage efficiency and data preservation in scheduled deletions
For some forms, you may want to keep file uploads on the server until you or a team member can assess them.
There may also be contractual requirements for retaining documents, such as those related to tax forms and other financial records. To ensure compliance, it’s a good practice to keep those documents on your server until you’ve successfully transferred them to more permanent storage.
In either case, you could schedule Entry Automaton only to delete file uploads after a certain amount of time — say, thirty days. This will free up space on your server and make sure your data is preserved.
Monitoring and reporting on Gravity Forms automated file deletion tasks
Now that you have a fully automated system freeing up your time let’s talk about how to monitor those file deletions without creating more work for yourself.
Tracking automatically deleted files and entries
While you can activate logging in Gravity Forms, it’s primarily for debugging purposes and not recommended for long-term use due to security reasons. You can also use a third-party plugin to log actions, such as file deletions, but these may incur additional costs.
The easiest method to track your automatically deleted files uses Gravity Forms’ built-in notifications along with Entry Automation. Here’s how to do it.
Setting up email notifications for completed scheduled tasks
Once you have an Entry Automaton Task set up to delete your file uploads, you can create an email notification that alerts you that the action was performed — and show what files were uploaded and scheduled for deletion.
Step 1: Create a new scheduled task
In your form editor, navigate to Settings → Entry Automation. Name your new Task something like “File Upload deletion monitor” to differentiate it from the previous Task you created.
For this Task, you’ll choose Send Notification for the Automated Action. Save the settings and move to the Notification Settings tab.
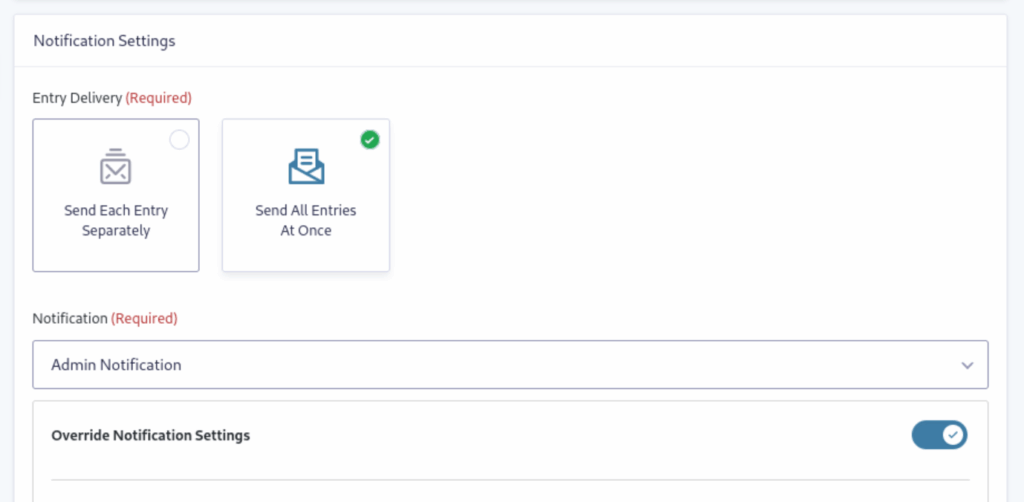
Choose whether you want to send each entry separately or send all entries at once, the latter of which is like a digest of form submissions. Select an existing notification to use as the source. You can leave it as-is, or you can toggle Override Notification Settings to customize it.
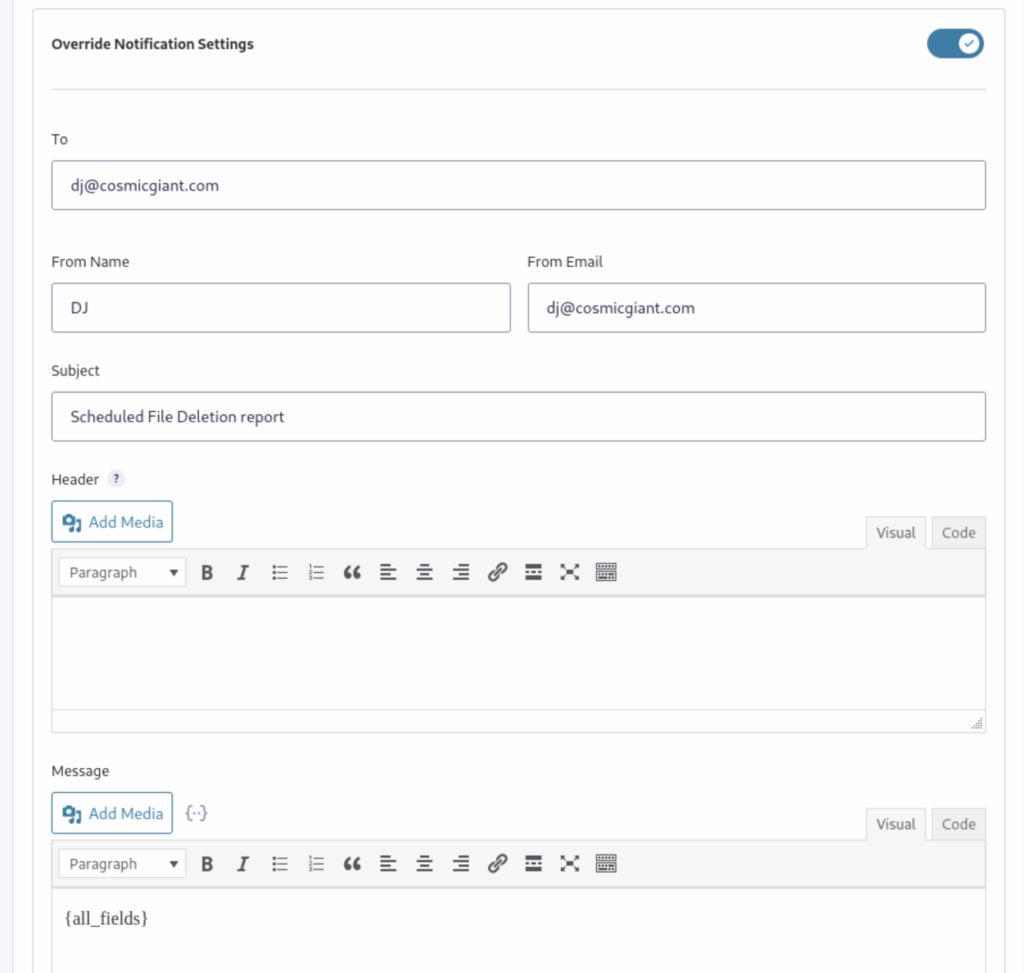
If you override the settings, ensure that you include a merge tag in the Message field. For example, using the tag {all fields} will show all fields submitted on the form — including the name of any file uploads.
Now, you and your team will receive automatic notifications when files are uploaded through your form. In this way, you can see what files are scheduled for deletion and keep better track of what’s expected.
Addressing common concerns in scheduled Gravity Forms file deletion
After reading through the tutorial, you may have some questions about the process. Here are some of the more common concerns.
Handling files referenced elsewhere during automated deletion
The easiest and best way is not directly to reference files uploaded and stored via Gravity Forms. That’s because once it’s deleted through your automated process, the link will lead to a 404 error. However, if you need to do so, the best practice would be to download and store the uploaded file(s) before deletion. Then, upload the files to a different location, such as Dropbox or Google Drive.
Ensuring compliance with data retention regulations in scheduled deletions
To remain compliant with GDPR requirements, you must keep a notice on your site that outlines your data retention policies and practices. To learn more, read our detailed article “Make Your WordPress Forms Meet GDPR Requirements.”
Troubleshooting scheduled Gravity Forms deletion issues
One of the most common issues in automated scheduling is how WordPress and your web host handle cron jobs.
Entry Automation executes scheduled automation tasks using WordPress’s built-in task scheduler, which operates through the wp-cron.php file. By default, wp-cron.php is triggered on every page load to check for any pending scheduled actions.
Depending on how long it takes to run an Entry Automation task, this setup may result in performance issues for your users. Furthermore, since wp-cron.php only runs when a page is loaded, scheduled automation actions might not execute precisely at their intended times. This can happen if your site experiences low or inconsistent traffic, uses aggressive caching, or has regular periods of reduced activity (such as overnight), as many sites do.
There’s a way to mitigate this issue, and we outline the steps in our documentation.
Enhance your workflow with automated Gravity Forms file deletion today
While manual deletion is possible through FTP or the WordPress admin, it is tedious and time-consuming. The Entry Automation add-on for Gravity Forms allows you to schedule automated file deletions with no coding required. This add-on lets you customize deletion schedules, target specific entries, and even apply conditional logic.
Set up scheduled file deletion and take control of your server space while keeping your entry data intact.